
Water collecting on your driveway after heavy rain can be more than an inconvenience. Persistent pooling may leave slippery surfaces, contribute to erosion around pavement edges, and direct runoff toward your garage or foundation. When the driveway’s slope and existing drainage routes cannot move water away effectively, a trench or channel drain may help.
A driveway trench drain, also called a channel drain, is a long, narrow drainage system installed across a paved surface to collect runoff and carry it through a connected drainage pipe to a suitable outlet. It is particularly useful where water flows toward a garage entrance, collects at the bottom of a sloped driveway, or has nowhere else to drain.
The cost depends on the drain’s length, materials, excavation requirements, driveway surface, and where the collected water will go. Installation also needs careful planning: even a well-made channel drain can fail if it sits at the wrong elevation or connects to an inadequate outlet.
For homeowners in Chicago, Naperville, and surrounding Illinois communities, understanding these factors makes it easier to choose the right drainage system, budget for installation, and keep it working through changing weather conditions.
What Is a Driveway Trench or Channel Drain?
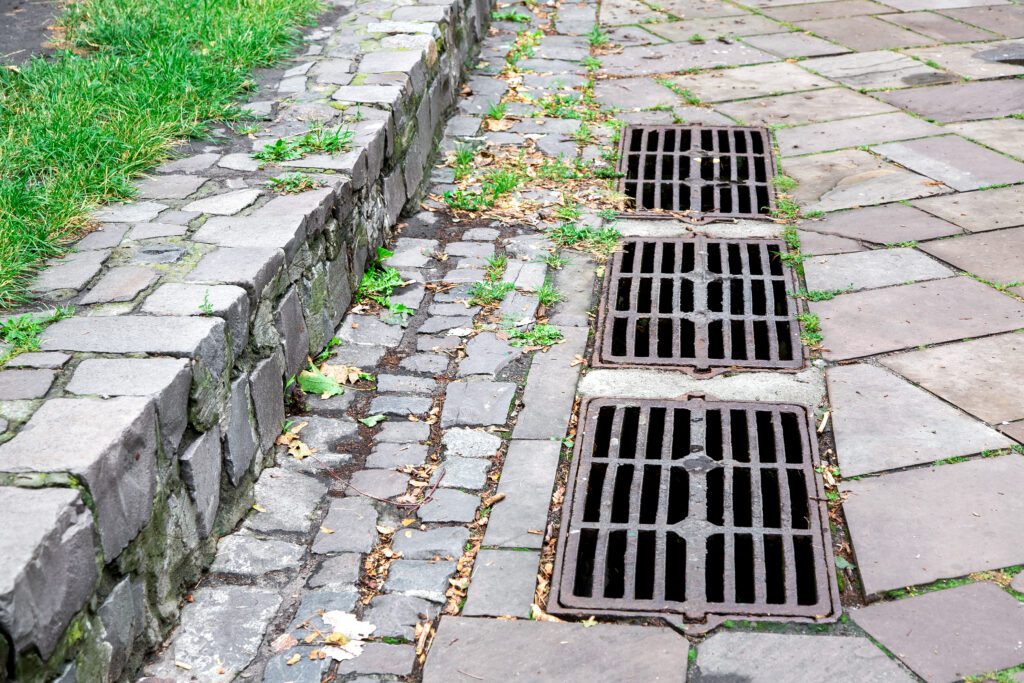
A driveway trench drain is a linear drainage channel installed at surface level, usually with a removable grate covering the opening. Rainwater flows through the grate into the channel and then into a connected pipe or drainage outlet.
The terms trench drain and channel drain are commonly used interchangeably for this type of system. Unlike a French drain, which typically collects water below ground through a gravel-filled trench and perforated pipe, a channel drain collects water directly from a paved surface.
A channel drain may be installed across a driveway, in front of a garage, along a patio, or wherever a hard surface concentrates runoff. The system is designed to intercept water before it reaches a vulnerable area.
The drain itself is only one part of the installation. The surrounding pavement must direct water toward the channel, and the outlet must carry the collected runoff away without creating another pooling problem. For a closer look at how these systems work, see Ware Landscaping’s guide to trench drain systems.
When Does Your Driveway Need a Channel Drain?
Not every wet driveway needs a trench drain. The right solution depends on where water collects, how it moves across the surface, and why it cannot drain away.
Water Collects at the Garage Entrance
If your driveway slopes toward the garage, rainwater may flow directly toward the door instead of away from the building. A channel drain positioned across the entrance can intercept that surface runoff before it enters the garage, provided the system has sufficient capacity and a suitable outlet.
Water Pools at the Bottom of a Sloped Driveway
A sloped driveway can carry a substantial amount of runoff toward its lowest point. If the water has no clear path to drain away, it may collect in puddles or spread into nearby landscaping.
A channel drain installed at the collection point can capture water before it accumulates, but the location and size of the drain must match the amount of runoff the driveway produces.
Rainwater Flows Toward the Foundation
Water pooling beside a house can increase moisture around the foundation, especially when the driveway directs runoff toward the building. A channel drain may help intercept water from the paved surface, but it should form part of a broader drainage plan if grading, downspouts, or other sources also contribute to the problem.
For properties where roof runoff is also contributing to water accumulation, an underground gutter drainage system may help carry downspout discharge away from vulnerable areas when appropriately designed.
The Driveway Creates Slippery or Icy Areas
Persistent water can make a driveway slippery and may contribute to ice formation during freezing weather. Removing the source of the pooling can reduce this risk, although a drain cannot prevent all ice formation during winter conditions.
Water Erodes the Edges of the Driveway
Runoff flowing repeatedly off a paved surface can wash away soil and affect nearby planting beds. Capturing and directing that water through a suitable drainage route can help limit erosion and protect the surrounding landscape.
If the driveway has visible cracks, uneven sections, or a slope that directs water toward the house, drainage may not be the only issue. Understanding what concrete driveway drainage problems look like can help distinguish between a problem with the pavement itself and one involving the route water takes after rainfall.
Types of Driveway Trench and Channel Drains
Channel drains are available in different materials, sizes, and load ratings. The best option depends on the driveway’s construction, expected vehicle traffic, drainage volume, and the conditions in which the system will operate.
Plastic and Polymer Channel Drains
Plastic and polymer channels are commonly used for residential drainage because they are relatively lightweight and available in modular sections.
They can suit driveways with ordinary passenger-vehicle traffic when the complete system is rated for the expected load and installed according to the manufacturer’s requirements. The grate, channel body, supporting base, and surrounding pavement all affect how well the system performs.
Polymer Concrete Channel Drains
Polymer concrete channels are made from a composite material designed to provide strength and durability. They may be suitable for driveways that need a more robust system, depending on the product’s specifications and installation requirements.
Their weight, cost, and handling requirements may differ from those of plastic systems, so the choice should be based on the project’s needs rather than material alone.
Metal Grates and Heavy-Duty Systems
Channel drains may use galvanized steel, stainless steel, ductile iron, or other metal grates. These options differ in corrosion resistance, strength, appearance, and cost.
The grate’s load rating is particularly important where vehicles cross the drain. A grate intended for pedestrian use should not be assumed to be suitable for a driveway.
Concrete Channel Drains
Concrete may form part of the channel structure or serve as the supporting base around a prefabricated drain. Proper support helps prevent movement when vehicles pass over the installation.
The appropriate system depends on the driveway surface and expected traffic. Choosing a durable grate is not enough if the channel beneath it is inadequately supported.
How Much Does a Driveway Trench or Channel Drain Cost?
The cost of installing a driveway trench or channel drain depends on the length of the system, the channel and grate materials, excavation requirements, the driveway surface, and where the collected water will be discharged. A straightforward installation may cost considerably less than retrofitting a drain into an existing concrete driveway or installing a system that requires extensive underground pipework.
As a preliminary budgeting guide, homeowners can use the following broad US cost ranges. These are indicative estimates rather than verified 2026 prices for Naperville or the wider Chicago suburbs.
| Cost component | Indicative budget |
|---|---|
| Basic residential channel drain materials | $10–$50 per linear foot |
| Professionally installed channel drain | $30–$100+ per linear foot |
| Concrete or asphalt cutting and removal | Depends on surface thickness and access |
| Outlet piping and connections | Depends on pipe length and discharge requirements |
| Concrete reinstatement and surface restoration | Depends on the area and finish required |
These figures are for initial budgeting only. Material prices and installation estimates vary by product, location, and project scope. Published channel drain installation cost estimates from Angi can provide a further reference, although the scope covered by those estimates may differ from your project. Before comparing contractors, confirm whether excavation, concrete bedding, pipe connections, and surface restoration are included.
What Determines the Total Installation Cost?
1. Length of the Drain
A longer channel requires more materials and typically more excavation and labour. A short drain across a garage entrance will generally cost less than a system spanning a wide driveway or collecting runoff from several paved areas. The drain’s length should be based on where runoff concentrates, rather than choosing a size solely to reduce material costs.
2. Drain Material and Load Rating
Basic residential channels may cost less than heavy-duty systems designed for larger vehicles or demanding traffic conditions. Both the channel and grate must be rated for the expected load. Selecting a system that cannot withstand vehicle traffic can lead to damage and additional repair costs.
3. Driveway Cutting and Excavation
Installing a drain in an existing concrete or asphalt driveway may require saw-cutting, pavement removal, excavation, and rebuilding the supporting base. These requirements can make a retrofit more expensive than incorporating drainage during a new driveway installation.
If water pooling is also associated with pavement slope or surface defects, identifying common concrete driveway drainage problems can help clarify whether additional work may be needed.
4. Outlet Piping and Discharge
The collected water needs a suitable destination. A short connection to an appropriate outlet may be relatively straightforward, while a longer underground pipe route or additional drainage structures can increase labour and material costs.
The discharge route is an important part of the design. Water should not simply be redirected onto neighbouring property or toward another vulnerable area. The outlet must be appropriate for the expected runoff and comply with applicable local requirements.
5. Grading and Related Drainage Work
If water also collects in the yard or flows toward the house, the project may need grading adjustments, downspout redirection, or additional drainage measures. Reviewing these yard drainage solutions can help homeowners understand why a channel drain may need to form part of a broader drainage plan.
Example Cost Calculation
Suppose a homeowner needs a 20-foot channel drain across a driveway. Using the indicative professional installation range of $30–$100+ per linear foot, the initial estimate would be approximately $600–$2,000 or more.
This is a preliminary calculation, not a guaranteed installation price. The final quote could be higher if the job involves thick concrete, difficult excavation, extensive pavement restoration, long outlet piping, or additional drainage work.

What Should a Driveway Drain Installation Quote Include?
When comparing estimates, check whether each quote covers:
- Drain channel, grate, end caps, and connectors.
- Excavation and removal of existing pavement.
- Supporting base and concrete work where required.
- Outlet piping and connection to a suitable discharge point.
- Restoration of the driveway and surrounding surfaces.
- Testing the system after installation.
- Disposal of excavated material and construction debris.
Comparing quotes on the same scope of work makes it easier to understand the price difference between contractors. An unusually low estimate may exclude important items that will need to be paid for separately.
If the problem extends beyond the driveway, a professional assessment of the property’s drainage needs can help determine whether a channel drain, grading improvements, or another solution is appropriate. Homeowners can review Ware Landscaping’s drainage services or request a quote to discuss their project.
How Is a Driveway Channel Drain Installed?
Installing a channel drain involves more than cutting a trench and placing a grate. The system must align with the driveway’s surface, have adequate structural support, and connect to a suitable outlet.
Step 1: Assess the Driveway and Drainage Route
The first step is to identify where water collects and how it moves across the driveway during rainfall. The assessment should consider the driveway’s slope, nearby structures, the garage entrance, downspouts, and existing drainage systems.
The contractor must also determine where the collected water can be discharged safely. This decision influences the drain’s position, channel size, pipe route, and overall installation cost.
Step 2: Mark the Drain Location
The drain is positioned where it can intercept runoff before it reaches the problem area. For a driveway that slopes toward a garage, this is often across the entrance. Other driveways may need a drain at a low point where water consistently accumulates.
Correct positioning is essential. A drain placed too far from the flow path may collect little water, while a poorly planned installation may redirect runoff toward another part of the property.
Step 3: Cut and Excavate the Pavement
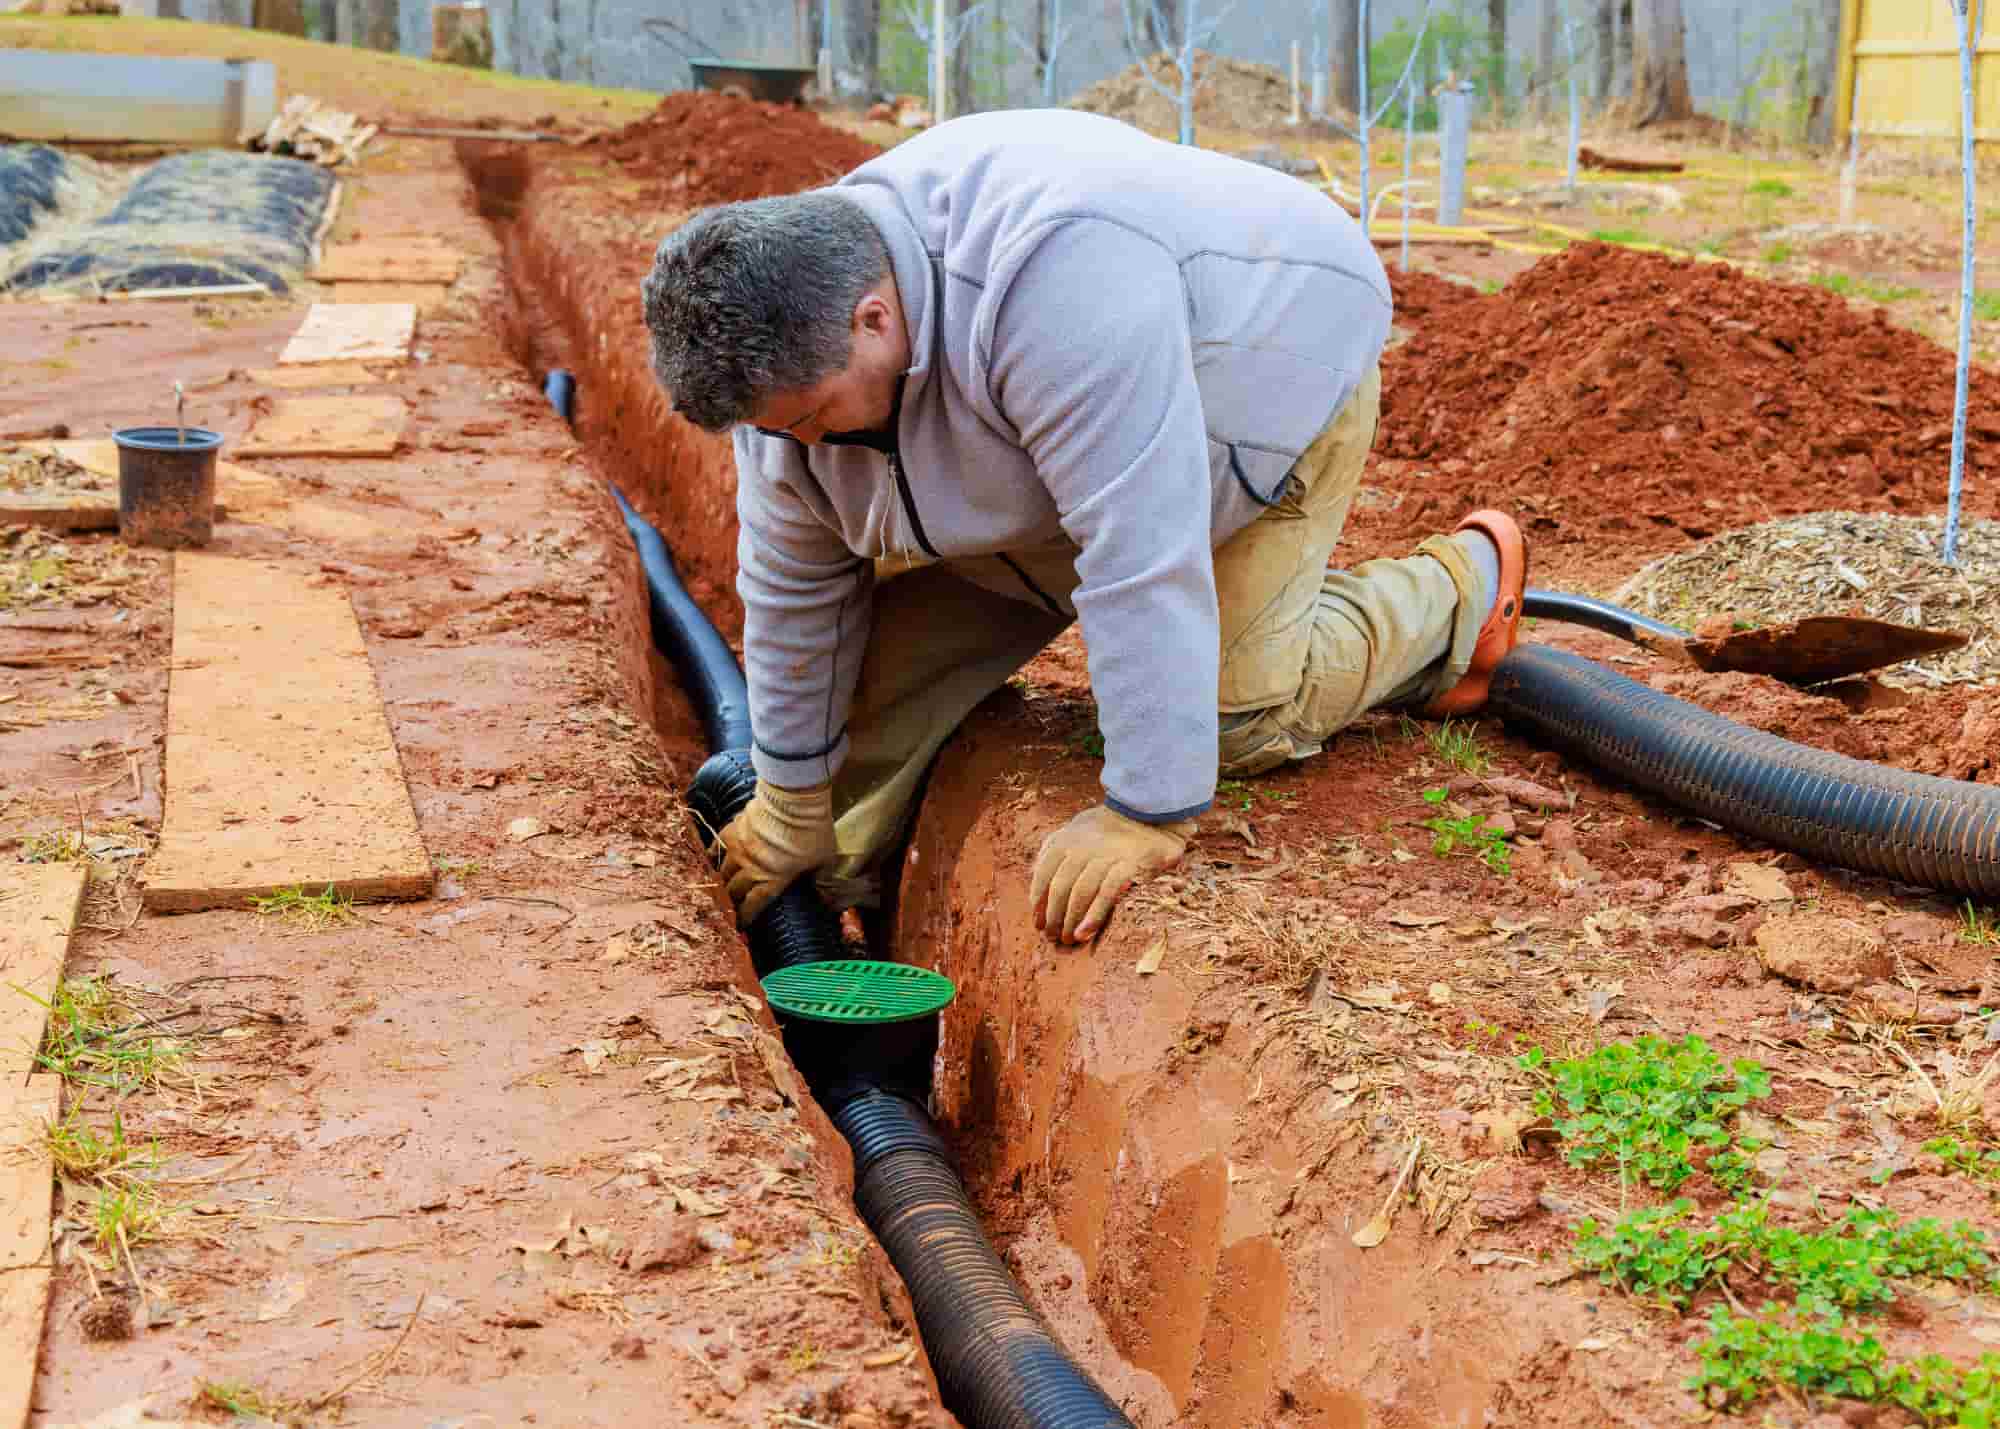
For an existing driveway, the installer cuts through the concrete or asphalt and excavates a trench to accommodate the channel and its supporting base.
The trench must provide enough room for the system to be installed at the correct elevation. Underground utilities and existing drainage pipes should also be considered before excavation begins.
Step 4: Prepare the Base and Install the Channel
A stable base supports the channel and helps prevent movement under vehicle traffic. Depending on the product and site conditions, the channel may need to be set in concrete or installed using another manufacturer-approved support method.
The installer aligns the channel with the surrounding driveway and ensures the grate will sit at the appropriate finished elevation. The supporting structure must be strong enough to withstand the loads expected at the installation location.
Step 5: Connect the Outlet Pipe
Collected water needs a clear route away from the channel. The outlet pipe must be appropriately sized and configured for the expected runoff and available discharge point.
The pipe’s slope, connections, and outlet location all affect performance. If the pipe is blocked, undersized, or connected to a point that cannot accept the water, the drain may overflow during heavy rainfall.
Discharge must also comply with applicable local requirements. Water should not simply be redirected onto neighbouring property or toward another vulnerable area.
Step 6: Restore the Driveway and Test the System
After the channel and pipework are installed, the surrounding pavement is restored and the grate is secured.
The completed system should be tested to confirm that water enters the channel and flows through the outlet without unexpected pooling or leakage. The surrounding surface should also direct runoff toward the drain rather than allowing water to bypass it.
Proper alignment, a stable base, and effective discharge are central to a successful trench drain installation.
Can You Install a Driveway Channel Drain Yourself?
A basic channel drain kit may be suitable for a small project where excavation is straightforward, the driveway surface can be modified safely, and a suitable discharge point already exists.
However, installing a drain across an existing concrete or asphalt driveway is more complicated than assembling the channel. The work may involve cutting pavement, excavating to a precise depth, supporting the drain against vehicle loads, connecting underground pipes, and restoring the surface.
DIY installation can also create problems if the channel is set at the wrong height or the outlet does not have enough capacity. Water may continue to pool, bypass the drain, or back up during heavy rain.
Professional installation is worth considering when:
- The driveway slopes toward the garage or foundation.
- Water enters the garage during heavy rainfall.
- Existing concrete or asphalt needs substantial cutting.
- The drainage route requires long underground pipework.
- Multiple drains or downspouts need to be connected.
- The correct discharge point is uncertain.
The decision should reflect the project’s complexity, not just the cost of the drain kit. A properly designed system is more useful than a low-cost installation that fails to address the cause of the water problem.
How to Maintain a Driveway Trench or Channel Drain
Once installed, a channel drain needs regular inspection and cleaning. Leaves, grass clippings, sediment, litter, and grit can accumulate in the channel and obstruct the outlet.
Maintenance is generally straightforward when the system remains accessible and is checked before blockages become severe.
Remove Debris from the Grate
Inspect the grate regularly, especially during autumn when falling leaves can collect quickly. Remove leaves, twigs, and other debris that prevent water from entering the drain.
If the driveway is surrounded by trees or planting beds, inspections may need to be more frequent during periods of heavy leaf fall.
Clean the Channel Interior
Where the grate is designed to be removable, lift it according to the manufacturer’s instructions and inspect the channel beneath it.
Remove accumulated sediment and debris without damaging the channel, seals, or connections. Wear suitable protective gloves and avoid reaching into areas where sharp debris may be hidden.
A clean grate cannot compensate for a channel filled with sediment, so both the surface opening and the interior need attention.
Check the Outlet Pipe
If water drains slowly despite a clean channel, the outlet pipe may be blocked or damaged. Sediment, roots, or other obstructions can restrict the flow, particularly in older systems.
Check accessible outlets for signs of blockage and look for water backing up into the channel during rainfall. Persistent problems may require professional inspection and cleaning.
Inspect the Grate and Surrounding Pavement
Look for loose grates, cracks around the channel, uneven pavement, or sections that have begun to settle.
Movement can affect the drain’s alignment and create gaps that allow water to bypass the channel. Damaged grates may also become trip hazards or fail under vehicle loads.
Repairs should address the cause of the movement rather than simply covering the visible damage.
Check the System Before Winter
In Chicago and surrounding Illinois communities, autumn maintenance is particularly important because leaves, freezing temperatures, and snow can affect driveway drainage.
Clear the grate and channel before winter, confirm that the outlet is not obstructed, and remove accumulated debris. During winter, keep the grate and surrounding drainage path clear of snow and ice where it is safe to do so.
Avoid using de-icing products that may damage the channel or grate material. Follow the manufacturer’s guidance for cleaning products and winter care.
Watch How the Drain Performs After Heavy Rain
A channel drain should collect runoff from the area it serves and carry it toward the intended outlet. If water repeatedly pools around the grate, flows past it, or backs up during rainfall, investigate the cause.
The problem may involve a blocked outlet, insufficient drainage capacity, incorrect surface grading, or a discharge point that cannot handle the runoff. Cleaning may resolve a blockage, but persistent problems require a closer assessment.
Common Driveway Channel Drain Problems and Their Solutions
Even a well-installed system can develop problems over time. Recognising the symptoms helps determine whether routine maintenance is enough or a repair is needed.
| Problem | Possible cause | What to check |
|---|---|---|
| Water pools over the grate | Debris or insufficient intake capacity | Clear the grate and assess how runoff reaches the drain |
| Water backs up during rain | Blocked outlet, undersized pipe, or inadequate discharge | Inspect the outlet and drainage route |
| Water bypasses the channel | Incorrect placement or surrounding surface slope | Check the driveway’s grade and drain elevation |
| Grate becomes loose | Worn fixings or movement in the supporting base | Inspect the grate, channel support, and surrounding pavement |
| Cracks appear beside the drain | Settlement or inadequate structural support | Assess the base and pavement before repairing the surface |
| Water collects beyond the outlet | Discharge point or downstream drainage problem | Check where the pipe releases water and whether that area drains effectively |
The appropriate repair depends on the underlying cause. Replacing the grate, for example, will not resolve a blocked underground pipe, and cleaning the channel will not correct a driveway that slopes away from the drain.
Channel Drain vs. French Drain: Which Is Better for a Driveway?
Channel drains and French drains manage water differently, so choosing between them depends on where the water collects.
A channel drain collects surface runoff through a grated opening. It is well suited to paved areas such as driveways, garage entrances, patios, and walkways where water needs to be intercepted before reaching a building or another vulnerable area.
A French drain typically uses a gravel-filled trench and perforated pipe to collect and redirect water below ground. It is more commonly considered for saturated soil, persistent wet areas, or water that needs to be intercepted beneath the surface.
Some properties need both systems. A channel drain can collect water running across the driveway, while a French drain or another drainage solution may address separate problems in the surrounding yard. Ware Landscaping’s guide to French drains versus trench drains explains the differences between these drainage approaches.
The correct choice depends on the source of the water, the property’s grading, soil conditions, and the availability of a suitable outlet. A drain should not be selected solely because it is easier to install or appears less expensive.
How to Choose the Right Driveway Drain Contractor
A driveway drain contractor should assess the entire drainage route rather than focus only on the channel itself.
Before agreeing to the work, ask how the proposed system will collect runoff, where the water will go, and what will happen during periods of heavy rainfall. The contractor should also explain the channel’s load rating, the supporting base, the outlet connection, and any pavement restoration included in the estimate.
It is useful to confirm that the proposal accounts for:
- The driveway’s slope and the location of standing water.
- The expected volume of runoff.
- The channel and grate’s suitability for vehicle traffic.
- The condition and capacity of the outlet route.
- Any necessary grading, excavation, or pavement repairs.
- The maintenance requirements of the finished system.
A clear installation plan makes it easier to compare proposals and understand what you are paying for. It also reduces the risk of installing a drain that collects water without moving it far enough away from the problem area.
Get a Driveway Drainage Assessment From Ware Landscaping
A driveway channel drain can help protect your garage entrance, pavement, and surrounding landscape when surface runoff is the main problem. However, the system must be positioned correctly, supported properly, and connected to a drainage route that can handle the collected water.
Ware Landscaping provides exterior drainage services for homeowners in Chicago, Naperville, and surrounding Illinois communities. Depending on the property’s needs, drainage work may include channel and trench drains, catch basins, underground drainage pipes, and grading improvements.
If water repeatedly collects on your driveway or flows toward your garage, an assessment can help identify the cause and determine which solution is appropriate. Visit Ware Landscaping’s drainage services page to learn about available solutions, or request a quote to discuss your property and the work required.
With appropriate installation and routine maintenance, a driveway trench drain can become a practical part of your property’s overall water-management system.