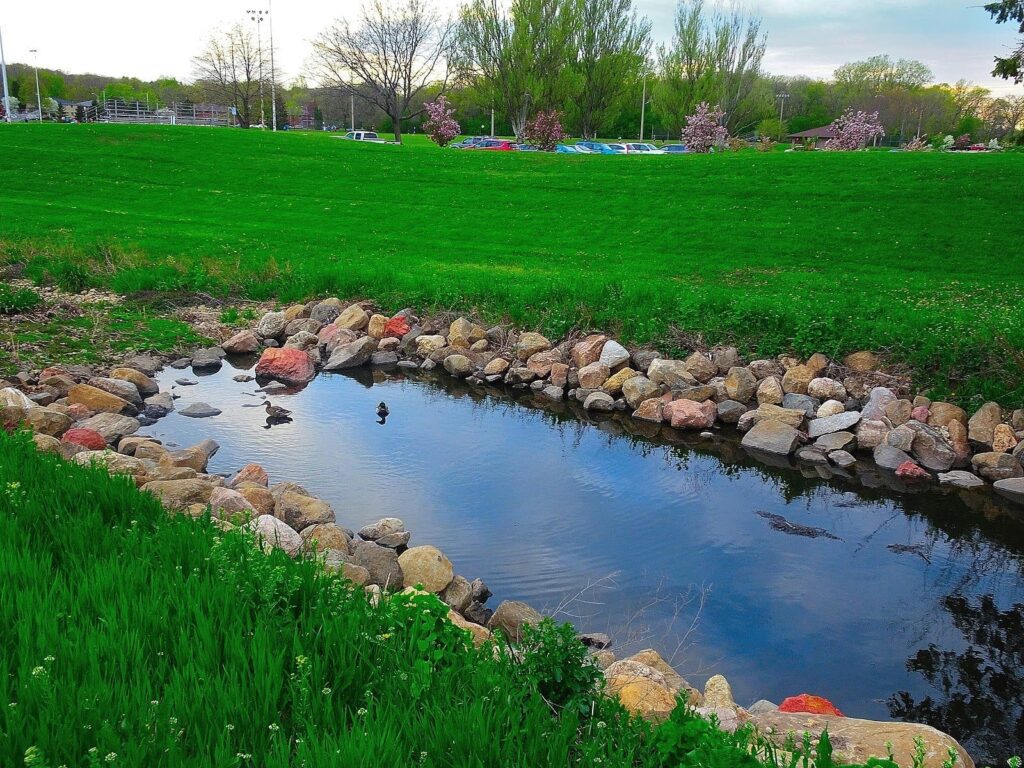
A dry basement is the cornerstone of a healthy home. Whether you are dealing with a high water table or seasonal flooding from heavy rainfall, water intrusion can lead to mold growth, structural damage, and the loss of valuable living space. While specializing in managing water from the outside through expert grading and hardscaping, an interior sump system serves as your home’s final line of defense.
In this guide, we will walk you through the essential steps of installing a sump basin and pump, helping you decide if this is a project you can tackle or if it is time to call in the professionals.
Understanding the Sump System
At its core, a sump system consists of two parts: the basin (or pit) and the pump. The basin is a perforated container installed into the lowest point of your basement floor. It collects groundwater before it can rise through cracks in the slab. The pump sits inside this basin and, once water reaches a certain level, automatically moves it through PVC piping to a safe discharge location away from your foundation.
It is important to remember that a sump pump treats the symptom of water issues. For a truly dry home, the pump should work in tandem with exterior drainage such as gutters, downspouts, and proper yard grading to ensure the pump isn’t working harder than it has to.
Choosing the Right Sump Pump
Selecting the right equipment is vital. Most residential applications require a pump with 1/3 to 1/2 horsepower. Here is a comparison of the primary types:
| Type | Pros | Cons | Best For |
| Submersible | Quiet, powerful, handles debris well. | Harder to access; more expensive. | Most basements with high water volume. |
| Pedestal | Easy to maintain; cheaper; motor stays dry. | Noisier; less powerful; takes up space. | Small pits or light usage. |
| Battery Backup | Runs during power outages; adds redundancy. | Additional cost; requires battery maintenance. | Areas with frequent storms. |
| Combination | Maximum protection with primary + backup. | Highest initial cost; complex setup. | High-risk flooding zones. |
Preparation: Tools, Materials, and Permits
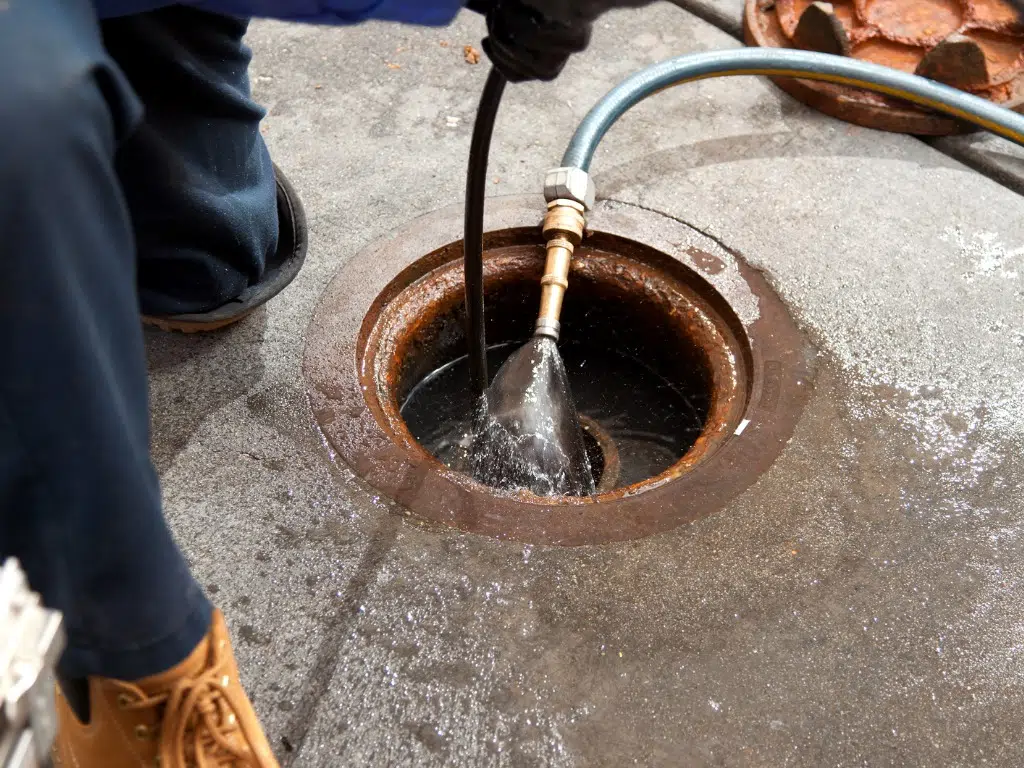
Before you break ground, check your local building codes. Many municipalities require a permit for electrical or plumbing modifications. Furthermore, it is almost universally prohibited to discharge sump water into the sanitary sewer system, as this can overwhelm city infrastructure.
Essential Tools
- Electric jackhammer or heavy-duty hammer drill
- Shovel and bucket for debris removal
- PVC cutters or a hacksaw
- Drill with masonry and 3/16-inch bits
- Safety gear: gloves, eye protection, and hearing protection
Materials Needed
- Perforated sump basin (18–24 inches in diameter)
- Sump pump (Submersible is recommended)
- Coarse gravel (3/8 to 1/2 inch)
- Schedule 40 PVC piping (1.5-inch diameter)
- Check valve
- Landscape fabric and concrete mix
Step-by-Step Installation Guide
1. Planning and Excavation
Identify the lowest point in your basement, ensuring it is at least 8 inches away from the foundation walls to avoid structural interference. Always call 811 to locate underground utilities before you begin. Outline the basin on the floor, adding a 3 to 6-inch buffer for gravel. Use the jackhammer to break through the concrete and dig a hole roughly 12 inches deeper than the basin’s height.
2. Preparing the Basin
If your basin isn’t pre-perforated, drill 1/4-inch holes in the upper third of the liner. Wrap the exterior with landscape fabric to prevent silt and sand from clogging the pump. Add 4 to 6 inches of gravel to the bottom of the hole, and place a large patio paver at the base to provide a level, stable surface for the pump.
3. Installing the Unit
Lower the basin into the hole and fill the surrounding gaps with gravel to within 6 inches of the floor surface. Place the pump inside, ensuring the float switch has enough clearance to move freely without hitting the walls.
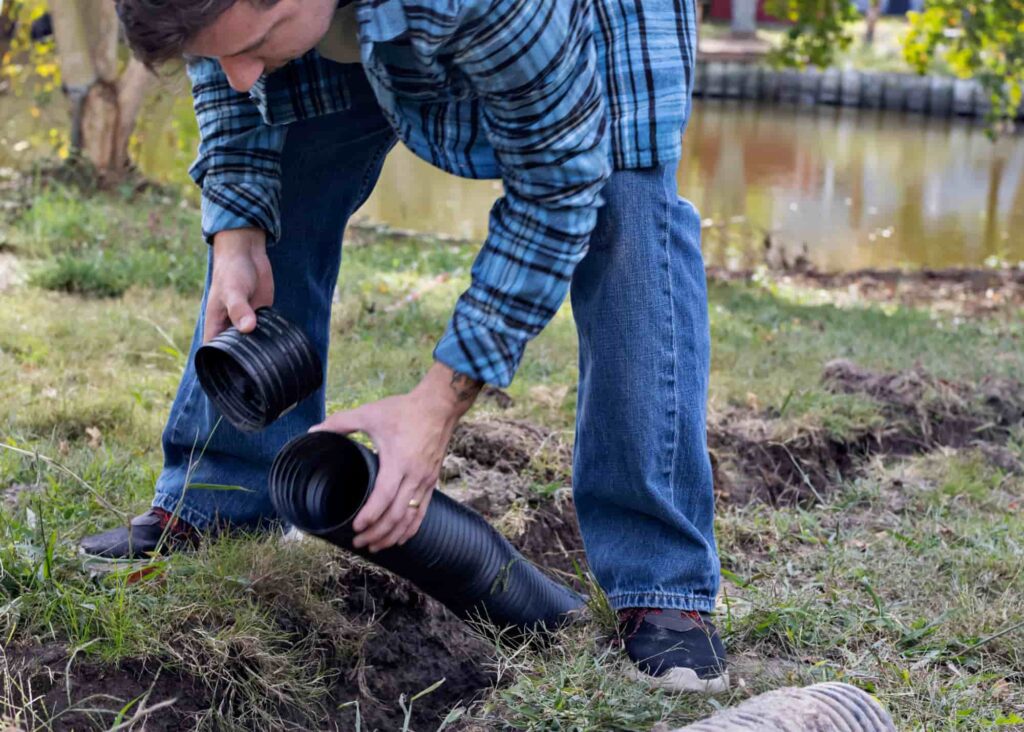
4. Plumbing and Discharge
Connect the 1.5-inch PVC pipe to the pump’s discharge outlet. Pro Tip: Drill a 3/16-inch “weep hole” in the pipe about 2 to 3 inches above the pump outlet to prevent air-lock. Install a check valve on the vertical discharge line; the arrow on the valve must point UP to prevent water from flowing back into the pit after the pump shuts off. Run the pipe through the rim joist of your home and seal the exit point with expanding foam.
5. Electrical and Testing
Plug the pump into a dedicated GFCI-protected outlet. Avoid using extension cords, as they can cause voltage drops and motor failure. Test the system by pouring five gallons of water into the pit. The pump should activate automatically and discharge the water efficiently.
6. Finishing Touches
Mix your concrete and pour it over the gravel gap around the basin, smoothing it to match the existing floor level. Outside, ensure the discharge pipe extends at least 10 to 20 feet away from the foundation, preferably using a splash block or an underground extension to prevent the water from recycling back into your basement.
Maintenance and Common Mistakes
A sump pump is not a “set it and forget it” device. You should test the unit quarterly and clean the basin annually. Be on the lookout for common pitfalls, such as:
- Skipping the check valve: This leads to constant cycling and premature motor burnout.
- Improper discharge: If water is dumped right next to the foundation, it will seep back in, creating a “loop” that wears out the pump.
- Ignoring the backup: If your primary pump fails or the power goes out during a storm, a battery backup is the only thing standing between you and a flooded basement.
When to Call the Experts
While a DIY installation is feasible for experienced homeowners, the physical labor of jackhammering concrete and the precision required for plumbing can be daunting. Professional installation typically costs between $1,200 and $4,000, but it guarantees code compliance and long-term reliability.
At Ware Landscaping, we understand that water management is a holistic process. A sump pump is an excellent interior solution, but it works best when your yard is graded to move water away from the structure in the first place. If you are worried about water around your foundation, contact us today to discuss how our professional landscaping and drainage solutions can complement your home’s flood prevention strategy.
Protect your investment start from the ground up.