Heavy rain shouldn’t mean soggy lawns, cracked foundations, or water sneaking into your basement. Yet, without proper drainage, that’s exactly what happens. An underground water drainage system is one of the most reliable ways to protect your home and yard from flooding. Done correctly, it redirects excess water away from your foundation and keeps your property dry all year long.
Here’s a clear, step-by-step guide to installing one—and knowing when it’s time to call in the experts.
Why Underground Drainage is Essential
Rainwater that lingers around your home creates more than puddles. Over time, it causes:
- Foundation damage that can lead to costly repairs.
- Erosion that destroys landscaping.
- Moisture buildup in basements and crawl spaces.
- Unusable lawns that stay muddy for days.
An underground system prevents these problems by capturing surface and groundwater, then moving it to a safe discharge point.
Tools and Materials You’ll Need
Make sure you have the following before starting:
- Shovel or trenching machine
- Gravel
- Landscape fabric
- PVC or corrugated perforated pipe
- Solid pipe and fittings for downspouts
- Catch basins or grates (optional)
- Saw for cutting pipe
- Level and tape measure
Step 1: Inspect and Assess Your Property
After a rain, walk your yard and note where water pools or flows toward the house. These spots will guide where your drainage system should begin and where it should end.
Step 2: Plan the Route
Water needs a natural slope to move underground. Aim for at least a 1–2% grade. Mark the route with stakes or paint, leading water toward a safe exit like a storm drain, dry well, or low-lying area.
Step 3: Dig the Trench
Cut a trench 6–12 inches wide and 18–24 inches deep. Keep the slope consistent using a string line or level. The slope is critical—without it, water won’t move properly.
Step 4: Prepare the Base
Line the trench with landscape fabric to stop soil from clogging your system. Add a 2–3 inch layer of gravel as a foundation.
Step 5: Install the Pipe
Lay perforated pipe holes-down on the gravel bed. If tying into downspouts, use solid pipe near the house before switching to perforated pipe further out. Secure all connections with fittings.
Step 6: Cover and Backfill
Add 6+ inches of gravel over the pipe, fold the landscape fabric over it, then backfill with soil and sod. This ensures the system stays hidden and blends seamlessly into your yard.
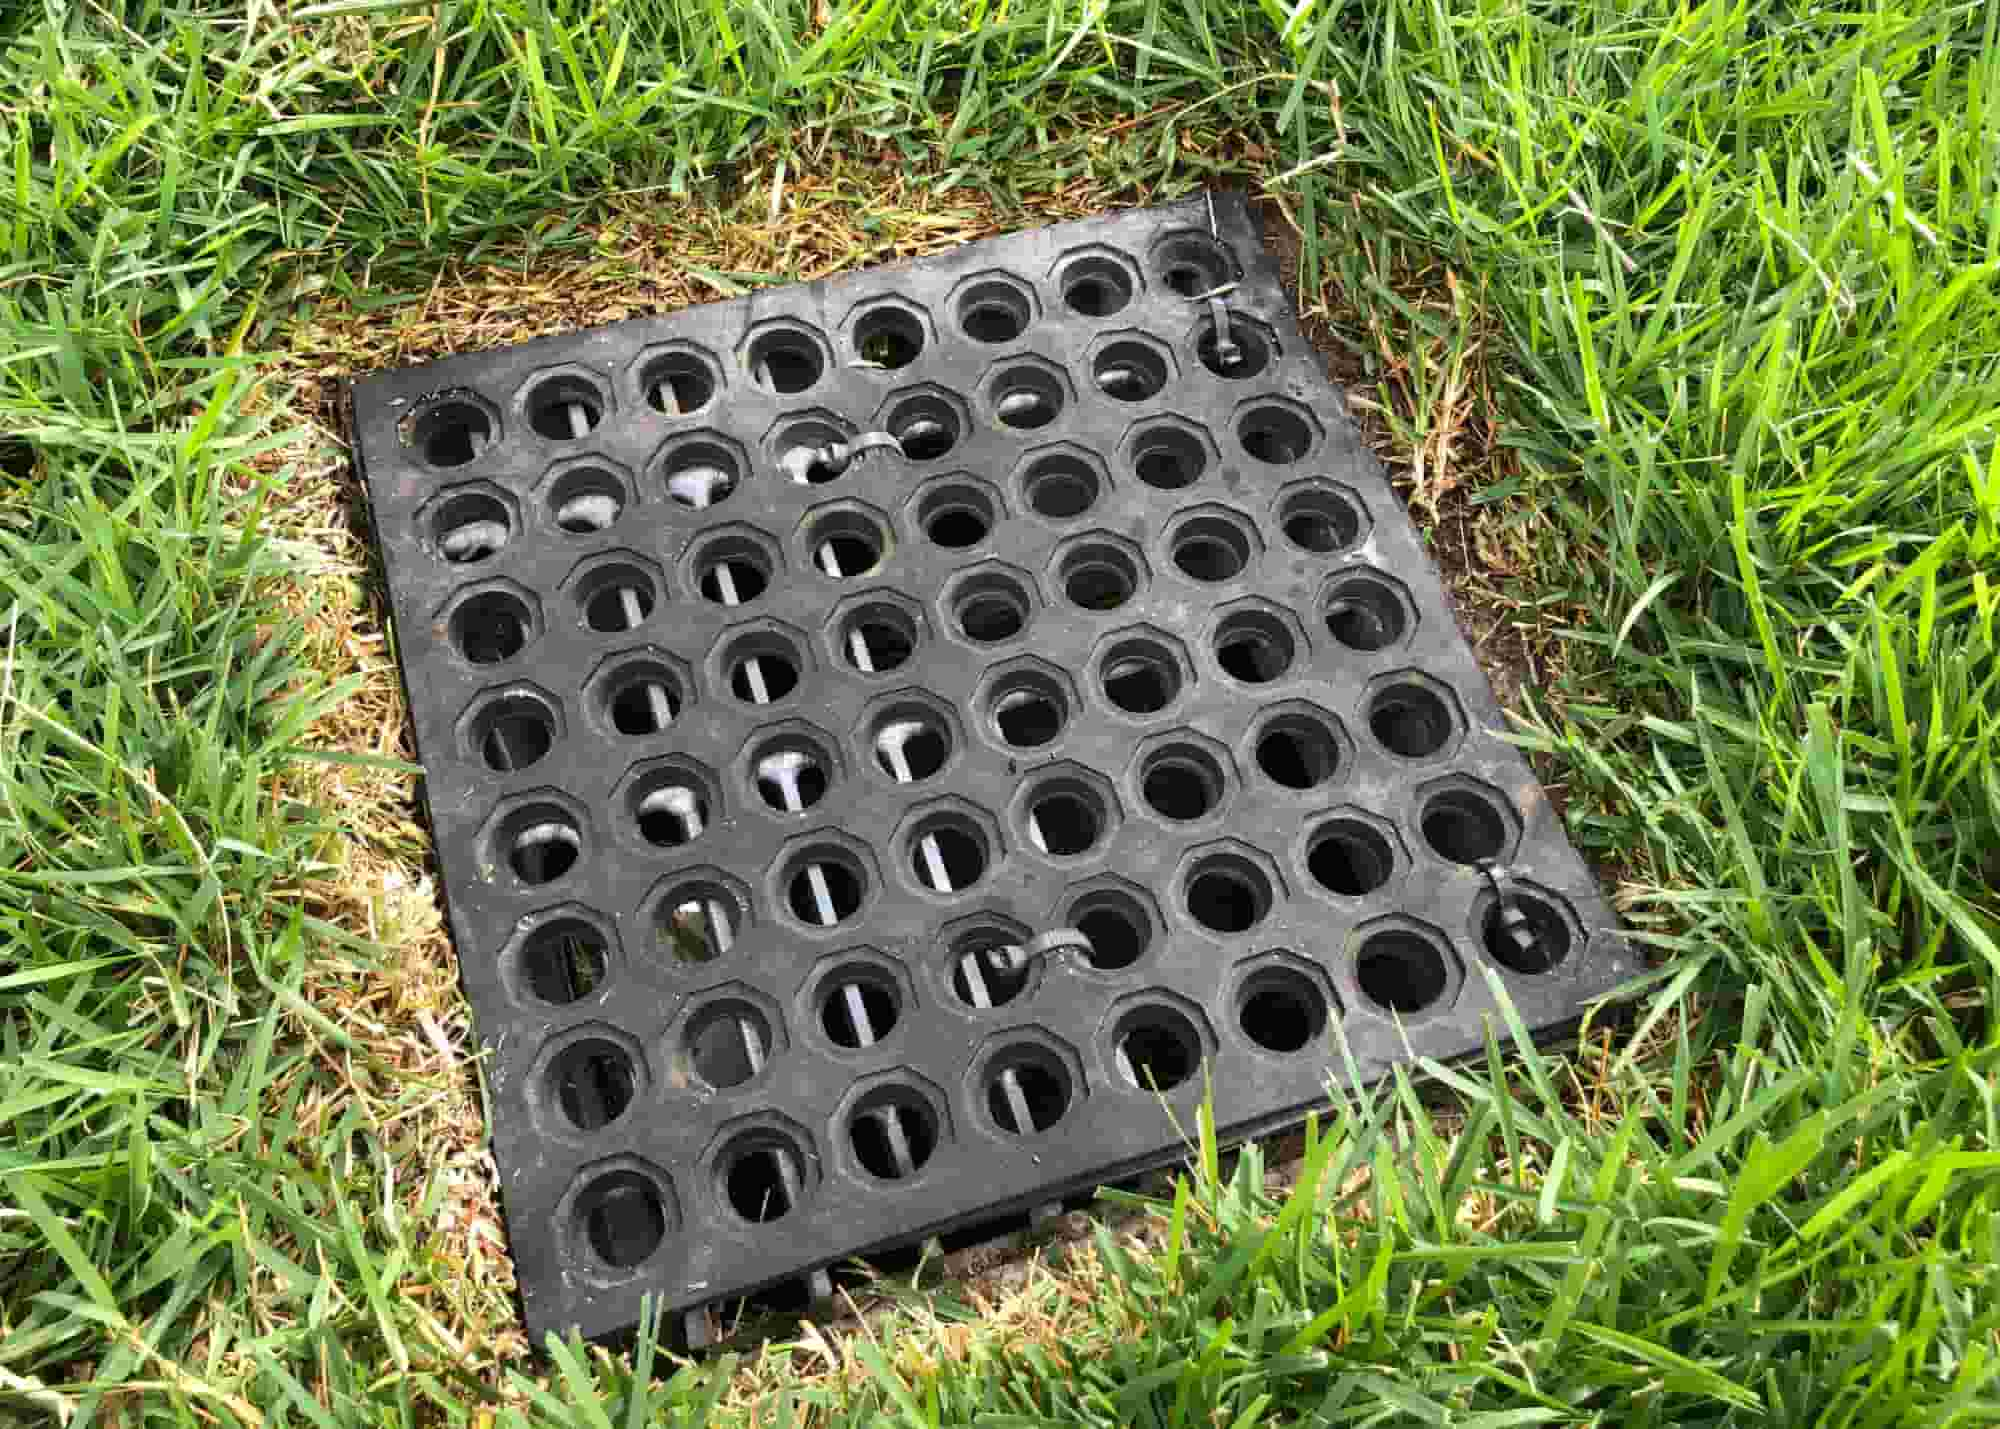
Step 7: Add Catch Basins (Optional)
If certain areas flood frequently, place catch basins with grates to capture water at the surface. These connect directly to your underground system.
Step 8: Test the System
Run water through the drain using a hose. Check for smooth flow and no backups. Adjust slope or connections if you notice pooling.
Pro Tips for Long-Term Success
- Inspect pipes yearly and flush if clogged.
- Keep discharge points clear of leaves and debris.
- Use larger pipes (4-inch or wider) for heavy rain zones.
- If no storm drain is available, consider installing a dry well.
When You Need an Expert
DIY drainage works for smaller yards, but sometimes professional help is the best choice. Call an expert if:
- Your property has severe grading issues.
- You’re dealing with frequent basement flooding.
- Large equipment is required for deep trenches.
- The water needs to be tied into municipal storm systems.
That’s where Ware Landscaping comes in. As drainage and landscaping specialists, we’ve helped countless homeowners solve flooding problems with durable, custom-designed systems. Our team handles everything—from site assessment and trenching to installation and long-term maintenance—so you don’t have to worry about a thing. With Ware Landscaping, you get peace of mind knowing your property is protected from water damage year-round.
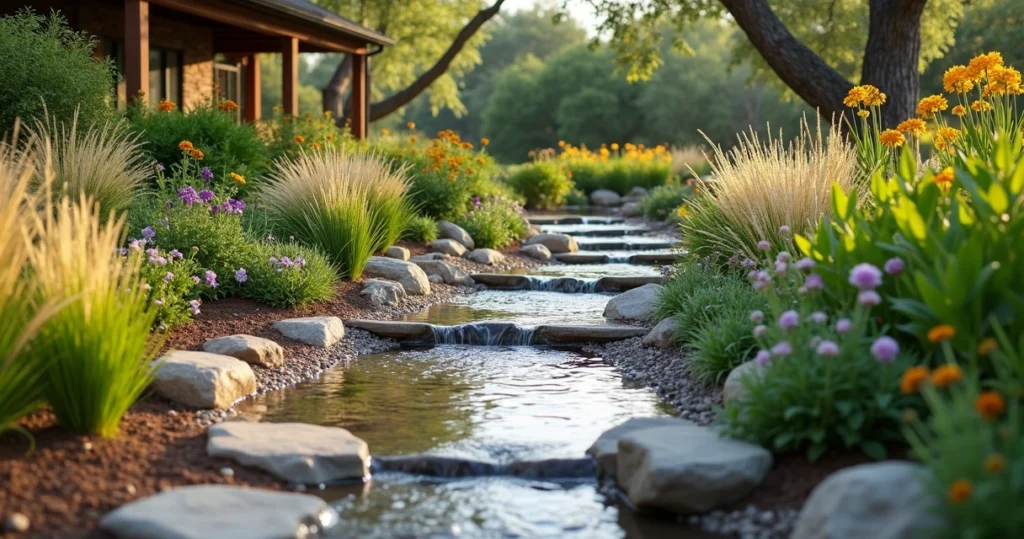
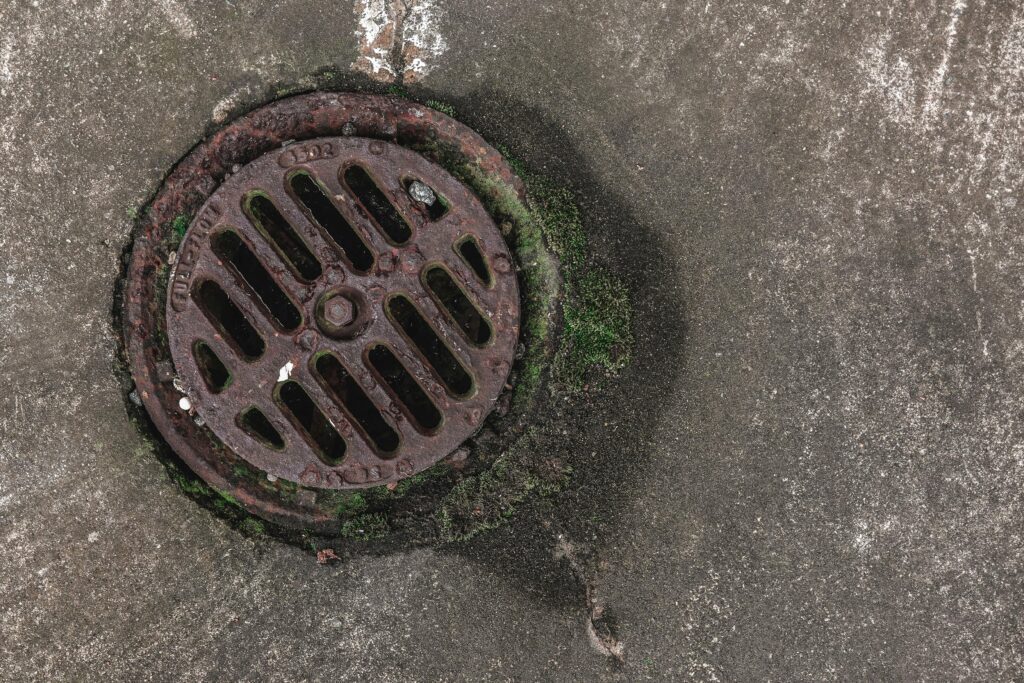
Our Recent Drainage Project
Final Thoughts
Underground drainage may take a weekend of effort, but the payoff is huge: a drier yard, a stronger foundation, and a home protected from flood damage. For simple problems, a DIY approach works. For more complex water issues, bringing in an expert like Ware Landscaping ensures your property stays flood-free for the long haul.