A cinder block retaining wall is one of the most cost-effective and durable ways to control a sloped yard, stop soil erosion, create usable outdoor space on a grade, or define a garden terrace. When built correctly on a proper footing, with drainage behind it and reinforcement through it a cinder block retaining wall can last 50 to 75 years. When built incorrectly, it tilts, cracks, and fails, often within a few seasons.
This guide covers the full process: planning, footing detail, drainage, block laying, reinforcement, and finishing for both DIY projects under 4 feet and the professional work that taller or load-bearing walls require.
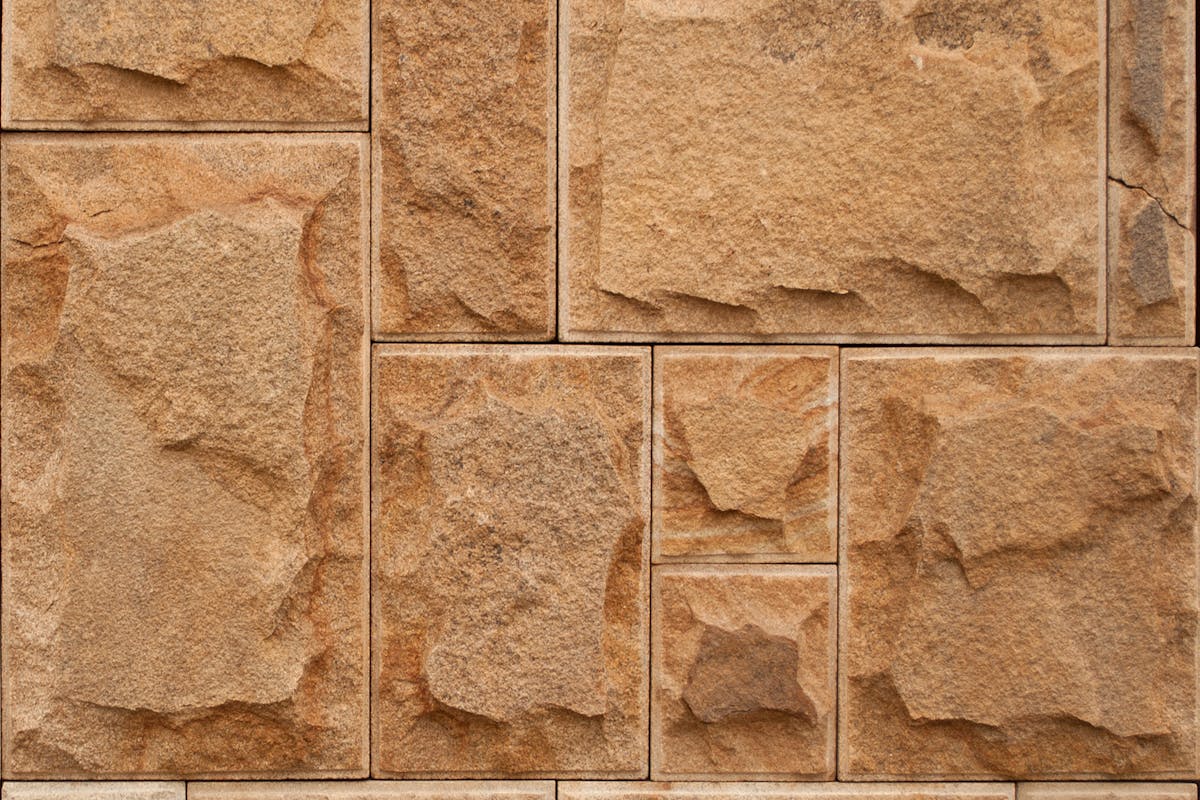
Cinder Block vs. Concrete Block: Which One for a Retaining Wall?
This comes up constantly, so let’s clear it up before anything else.
True cinder blocks are made with coal ash aggregate and are lighter but have lower compressive strength around 1,900 psi. Concrete masonry units (CMUs), what most people call cinder blocks today, are made with Portland cement and sand or gravel aggregate, with compressive strength of 2,500 psi or higher. For a retaining wall holding back significant soil pressure, CMUs are the correct choice. They accept rebar, can be grouted solid, and are engineered to handle lateral load in a way that older, lighter cinder blocks are not.
Don't Build a Wall That Falls Over
A 2,000lb retaining wall is a massive safety hazard if the engineering is off. Get a structural foundation and drainage system that is guaranteed not to buckle under pressure.
Get a Free QuoteFor a small decorative divider, garden border, or DIY cinder block fence under 3 feet, either works. For anything retaining soil, use concrete masonry units.
Planning: What You Must Do Before Touching a Block
Check permits. In Illinois and most municipalities, walls over 4 feet tall measured from the bottom of the footing to the top of the wall require a building permit and, in many cases, a structural engineer’s stamp. Even walls under 4 feet may require permits depending on your municipality. In the Chicago suburbs, this is not optional. A wall built without a required permit can be ordered removed at your expense.
Call 811. Before any excavation, call 811 at least two to three business days ahead to have public utilities marked. This is legally required and takes two minutes.
Assess the site. Look at where water flows on and across the property. A retaining wall that traps water behind it without adequate drainage will fail the hydrostatic pressure of saturated soil is enormous. Note the slope, the soil type (clay is common across the Chicago suburbs and expands significantly with moisture), and any trees whose roots could interact with the footing.
Plan for height honestly. A single reinforced cinder block wall is reliably buildable to 3–4 feet by a skilled DIYer. Walls from 4–6 feet require engineering consideration and typically professional installation. Anything taller should be designed by an engineer the consequences of failure at height are serious.
Materials and Tools
Materials:
- Standard 8×8×16-inch CMU blocks ($2–$5 each; a 16×8-inch block covers approximately 0.89 square feet of wall face)
- Cap blocks for the top course
- Type S mortar mix (designed for exterior load-bearing masonry not standard mortar)
- Concrete for the footing (or premix bags for smaller projects)
- #4 rebar (½-inch diameter) for vertical reinforcement
- Perforated drainage pipe (4-inch corrugated)
- Clean angular gravel for drainage backfill
- Geotextile landscape fabric
Tools:
- Trenching shovel and plate compactor
- Wheelbarrow and mixing tub
- Mason’s trowel, pointing trowel, and margin trowel
- 4-foot level and line level
- Chalk snap line and mason’s string
- Rubber mallet
- Concave jointer
- Safety gear: gloves, eye protection, dust mask
Step 1: Excavation and Footing Detail
The footing is the most important part of any cinder block retaining wall. A failed footing is the number one cause of wall collapse, and no amount of quality block work recovers a bad base.
Dig below the frost line. In the Chicago area, the frost line is approximately 42 inches below grade. Your footing must sit below this depth to prevent frost heave from lifting and shifting the wall. Shallow footings are the most common DIY mistake on retaining walls.
Footing dimensions. The footing should be at least twice the width of your block so for standard 8-inch blocks, a minimum 16-inch-wide footing. For taller or load-bearing walls, the footing width should increase to resist the lateral thrust of the retained soil, often 24 inches or wider. Thickness should be at least 8 inches for walls up to 4 feet.
Set rebar in the footing. Before pouring, place vertical rebar at 24-inch intervals, positioned so it will align with the hollow cores of the first course of blocks. These bars extend upward through the wall to tie the footing and the CMUs into a single reinforced structure.
Pour and cure. Use high-strength concrete mix. Screed the top of the footing level the wall cannot be leveled later if the base is off. Allow the footing to cure a minimum of 48 to 72 hours before beginning block work. In cool weather, this may be longer.
Step 2: Drainage Behind the Wall
Drainage is not optional on a retaining wall. Water pressure behind a wall is what causes bulging, cracking, and sudden collapse. This step is installed as you build not after.
At the base of the wall, directly behind the first course, lay a 4-inch perforated drain pipe in a bed of angular gravel, with perforations facing down to collect rising groundwater. The pipe should slope consistently toward a daylight outlet or storm sewer connection. Surround the pipe with at least 12 inches of clean angular gravel (not pea gravel it won’t compact and clogs over time). Wrap the gravel zone in geotextile fabric to keep soil from migrating in. As the wall rises, continue filling the zone immediately behind the blocks with gravel, not native soil. Install weep holes every 4 feet to allow any water that does reach the wall face to escape rather than build pressure.
Step 3: Laying the First Course
Snap a chalk line on the cured footing to mark the face of the wall. Dry-fit the entire first course before mortaring to confirm spacing and alignment.
Apply a full mortar bed 3/8 inch thick and set the first course of blocks. Check level front-to-back and side-to-side after each block. Use a rubber mallet to make adjustments. The first course must be perfectly level; every course above it inherits whatever error exists in the first.
Slide the vertical rebar through the hollow cores of the first course. At corners, use corner blocks and alternate the overlap direction to create a tied, interlocking structure rather than a vertical seam.
Step 4: Building Up Block Laying, Reinforcement, and Grouting
Stagger the joints. Each successive course should offset the vertical joints by half a block length. This interlocked pattern is what gives the wall its lateral strength. Never stack courses with aligned vertical joints it creates a structural plane of weakness.
Mortar joints. Apply mortar to the face shells (the top edges) of each block and to the vertical contact surfaces. Joints should be 3/8 inch. Use a trowel handle or pencil to check consistency the mortar should be firm enough to hold shape but workable.
Check plumb constantly. Use a level on both the face and the side of the wall every two to three courses. Small errors compound quickly over a 4-foot wall. A 1/4-inch error at course 3 can become a visible lean by course 8.
Back-batter the wall. For retaining walls, each course should be set back approximately 3/4 inch from the course below, creating a slight lean into the hillside. This is called back-batter and significantly increases the wall’s resistance to overturning under soil pressure.
Grout the reinforced cores. After every two to three courses, fill the hollow cores that contain rebar with high-strength concrete grout. This creates reinforced concrete columns inside the wall the mechanism that transforms stacked blocks into a structure capable of resisting significant lateral earth pressure.
Step 5: Finishing the Wall
Cap blocks. Apply a full mortar bed to the top course and set cap blocks with a slight pitch back toward the retained soil to shed water. Tool all joints with a concave jointer while the mortar is thumbprint firm pressed but not left with a mark.
Backfill in layers. After the wall has cured for at least 72 hours, backfill behind the gravel drainage zone with compacted native soil in 6-inch layers. Do not use heavy equipment close to the wall during this step the shock loading can crack fresh mortar joints.
Seal the wall face. Apply a penetrating masonry sealer to the exposed face. CMUs are porous, and water infiltrating the face leads to spalling and joint erosion over time. In the Midwest, where freeze-thaw cycles are frequent, unsealed masonry degrades noticeably faster.
2026 Cost Reality
DIY cinder block retaining wall: Materials run $4–$20 per square foot depending on height and reinforcement requirements. Equipment rental (plate compactor, mixer) adds $100–$300. A simple 20-foot by 3-foot garden retaining wall can be completed in materials for $800–$1,500.
Professional installation: Cinder block retaining walls professionally installed cost $20–$35 per square foot for walls 3–4 feet tall, rising to $35–$65 per square foot for walls 4–6 feet with full engineered reinforcement, drainage, and footing. A professionally built 30-foot by 4-foot wall in the Chicago area typically runs $4,000–$9,000 fully installed. Labor is $30–$75 per hour.
For any wall over 4 feet, the cost of professional design and installation is modest compared to the cost of structural failure and far less than foundation damage if the wall lets go.
Common Mistakes That End in Failure
Shallow footing. Above the frost line means heave damage every winter.
No drainage. The most common cause of retaining wall collapse is water pressure, not structural weakness. Drainage is non-negotiable.
No back-batter. A perfectly vertical retaining wall has a much smaller margin of safety against overturning than one with even 3/4 inch of back-set per course.
Stacked joints. Aligned vertical seams create a structural fault line. Always stagger.
Rushing the cure. Working on a partially cured footing or grouting too soon causes settling and misalignment that cannot be corrected.
DIY or Professional? The Honest Answer in 2026
DIY is appropriate for: Garden borders and decorative dividers under 3 feet, non-load-bearing cinder block fences, small terraces on gentle slopes where the soil is sandy or loamy and drainage is straightforward.
Professional installation is required for: Any wall over 4 feet, walls retaining clay soil (which expands significantly and exerts much higher lateral pressure than sandy soil), walls near structures, foundations, or property lines, and any wall where a permit is required. The Chicago area’s clay-heavy soils mean most retaining applications above 2–3 feet are professional territory.
Built Right, It Lasts Generations
A cinder block retaining wall built on a proper below-frost-line footing, with engineered reinforcement and thorough drainage behind it, will outlast the typical homeowner’s tenure by decades. A wall built without those elements may last a few years before it begins to lean and the cost to tear out and rebuild a failed retaining wall is substantially higher than the cost of doing it correctly the first time.
Don't Build a Wall That Falls Over
A 2,000lb retaining wall is a massive safety hazard if the engineering is off. Get a structural foundation and drainage system that is guaranteed not to buckle under pressure.
Get a Free QuoteAt Ware Landscaping, we design and build cinder block and CMU retaining walls across Naperville, Hinsdale, Wheaton, Barrington, and the greater Chicago suburbs. Every wall we build includes proper drainage integration, because a wall without drainage isn’t a permanent solution. All hardscape work is backed by our 10-year drainage guarantee.
Schedule your free consultation today.
