There’s something undeniably classic about a stone paver retaining wall. It’s not just about holding back soil—it’s about transforming your yard into a polished, purpose-built landscape that looks as good as it functions. But here’s the thing: if you’re going to build a retaining wall with stone pavers, you can’t afford shortcuts.
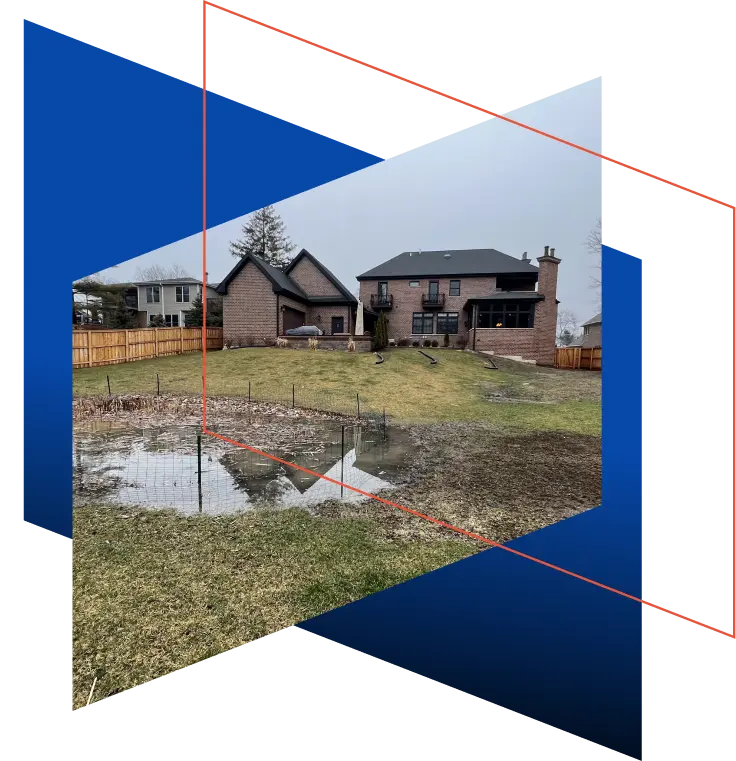
Retaining walls carry real weight—literally. They’re not just decorative features. They combat soil erosion, manage slopes, and even prevent flooding when done right. Whether you’re trying to level off a sloped yard, add definition to a garden bed, or create space for outdoor seating, stone pavers bring both strength and style to the job.
So, how do you build a retaining wall with stone pavers the right way? Let’s dig in.
Hardscaping and Retaining Wall Idea
Why Stone Pavers Are a Smart Choice
Before getting into the step-by-step, let’s talk materials. Stone pavers are a favorite for a few reasons:
- Durability: They stand up to weather, pressure, and time.
- Visual Appeal: They blend naturally into most landscapes and can be matched to your home’s aesthetic.
- Modularity: Pavers are easier to work with than natural stone and come in a variety of shapes, colors, and textures.
But no matter how good they look, your wall is only as strong as its foundation.
The Foundation Where It All Begins
One of the most critical steps when you build a retaining wall with stone pavers is base preparation. Most failed retaining walls can be traced back to a poor foundation.
Start by digging a trench below the frost line if you’re in a cold climate—or at least 6 inches deep in moderate zones. The trench should be wide enough to accommodate the pavers and allow for drainage.
Here’s the golden rule: the base should be at least 6 inches of compacted crushed stone or gravel. No shortcuts. This layer provides the stability your wall needs to prevent shifting and settling over time.
Use a plate compactor to pack the base tight and make sure it’s level from side to side, but slightly sloped front to back—about 1 inch per foot—to help with water runoff.
The First Row: Setting the Tone
Once your base is compacted and level, it’s time to lay the first row of stone pavers. This layer is everything. If your first row isn’t perfect, the rest of the wall will be fighting an uphill battle.
- Use a rubber mallet to gently tap each stone into place.
- Check for levelness frequently—don’t eyeball it.
- Backfill behind the stones with gravel as you go to lock them in.
Remember: when you build a retaining wall with stone pavers, every block counts, especially at the bottom.
Building Up: Lean In for Stability
As you stack additional rows, you’ll want to introduce a batter—a slight backward tilt into the hillside. This lean (about 1 inch per foot of wall height) counters the pressure from the soil behind the wall. Without it, gravity and soil movement will eventually push your wall forward or cause bulges.
Most modern paver blocks are designed to automatically create this lean when stacked, but always double-check the alignment to stay on track.
Also, stagger the joints like a brick pattern to increase structural integrity.
Drainage: Your Wall’s Best Friend
Poor drainage is a silent killer when you build a retaining wall with stone pavers. Trapped water builds pressure, and pressure makes walls fail.
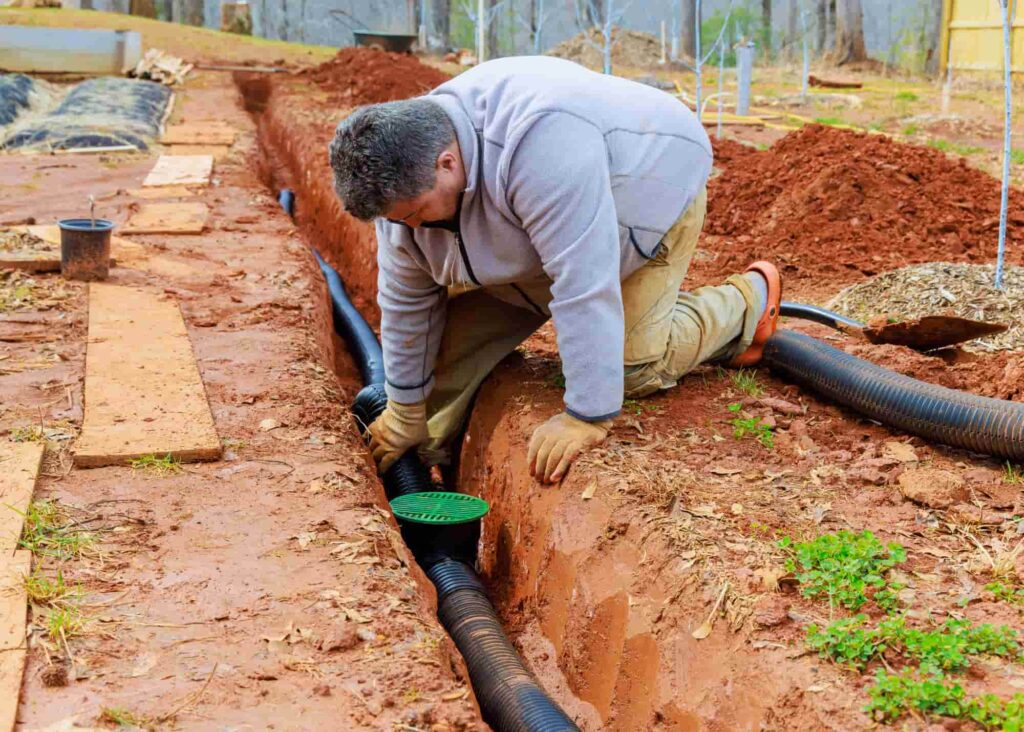
To prevent this:
- Add perforated drainage pipe (also called “drain tile”) behind the bottom layer.
- Wrap the pipe in landscape fabric to prevent clogs.
- Backfill the area behind the wall with gravel—not soil.
- Cap the wall with a layer of adhesive or special cap blocks to prevent surface water from seeping in.
What About Taller Walls?
For walls over 3 feet tall, you’re entering structural territory. At this height, soil pressure increases significantly, and basic stacking won’t cut it.
You’ll need to incorporate geogrid reinforcement—a strong mesh material that extends into the soil and ties back into the wall. It essentially anchors the wall to the earth behind it.
You should also consult a professional engineer to ensure that your wall is designed to code and can withstand long-term pressure. Building codes may even require permits or inspections for taller walls, depending on your location.
Common Mistakes to Avoid
If you’re eager to build a retaining wall with stone pavers, make sure to avoid these rookie missteps:
- Skipping compaction
- Using soil instead of gravel as backfill
- Not accounting for drainage
- Ignoring local building codes
- Forgetting the batter (backward lean)
Each of these can lead to cracks, leaning, or total failure down the line.
Final Touches for a Clean Look
Once your wall is complete, clean off any dust or residue, add capstones for a polished finish, and landscape the surrounding area. Mulch, low-maintenance plants, or even LED lights can make your wall pop visually.
Want It Done Right? Call Ware Landscaping
If you’re ready to build a retaining wall with stone pavers but don’t want to risk a misstep, Ware Landscaping is here to help.
With years of experience solving drainage problems and transforming outdoor spaces, our team delivers retaining walls that don’t just look amazing—they’re engineered to last. We follow industry best practices, use top-grade materials, and back up our work with warranties that give you peace of mind.
From drainage solutions to beautiful stonework, Ware Landscaping brings craftsmanship, care, and serious know-how to every project.
To build a retaining wall with stone pavers is to mix form with function—but only when done right. With proper prep, the right materials, and an understanding of soil pressure, you can create a wall that stands the test of time and transforms your landscape into something truly special.
Need help? Call Ware Landscaping and let’s build something solid—together.