Installing a landscape brick wall, especially a retaining wall, is a smart way to prevent soil erosion, add structure to your outdoor space, and enhance curb appeal. But it takes more than stacking bricks to build something that lasts. This guide breaks down everything you need to know about planning, building, and maintaining a durable and attractive brick wall in your yard.
Why Install a Brick Wall?
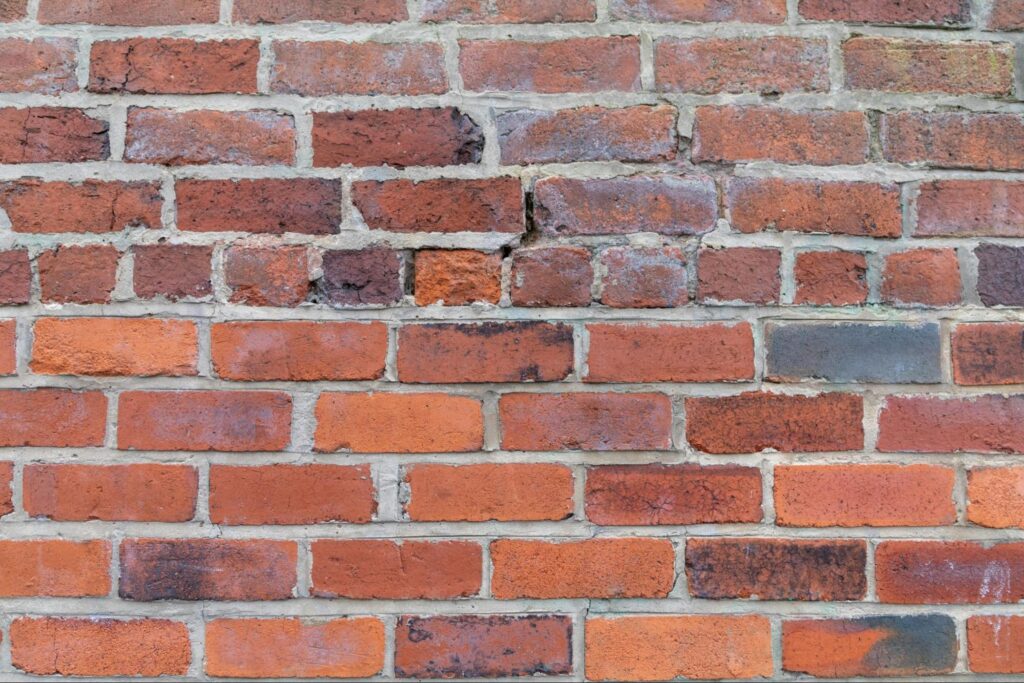
Brick retaining walls are popular for good reason. They offer durability, resist weathering, and blend well into both traditional and modern landscapes. Whether you need to hold back soil on a slope or create distinct zones in your garden, a brick wall adds both function and beauty.
- Durability: Bricks can last decades with minimal upkeep.
- Aesthetic Versatility: Works with rustic, modern, or formal garden styles.
- Erosion Control: Essential for managing runoff and soil movement on slopes.
Step 1: Plan and Assess
Before laying a single brick, assess your property and define the purpose of the wall:
- Are you managing erosion?
- Leveling a sloped garden?
- Creating a visual border?
Once that’s clear:
- Check Local Regulations: Many cities require permits for walls over 4 feet high.
- Analyze Soil and Drainage: Avoid areas with poor drainage or water runoff unless you plan to engineer around them.
- Choose Materials Wisely: Use bricks rated for ground contact, like fired clay or concrete bricks.
Tip: For complex or tall walls, consulting a structural engineer is a smart move.
Step 2: Gather Tools and Materials
You’ll need:
- Bricks ($15–$40 per sq. ft)
- Mortar (for bonding)
- Gravel and Landscape Fabric (for drainage)
- Drainage Pipe (perforated)
- Reinforcement (rebar or geogrids for taller walls)
- Tools: Shovel, level, trowel, tamper, rubber mallet, safety gear
Step 3: Construction Process
1. Excavate the Foundation
- Dig a trench at least 12 inches wide and 4–6 inches deep, below the frost line.
- Fill with 3–4 inches of compacted gravel using a hand tamper.
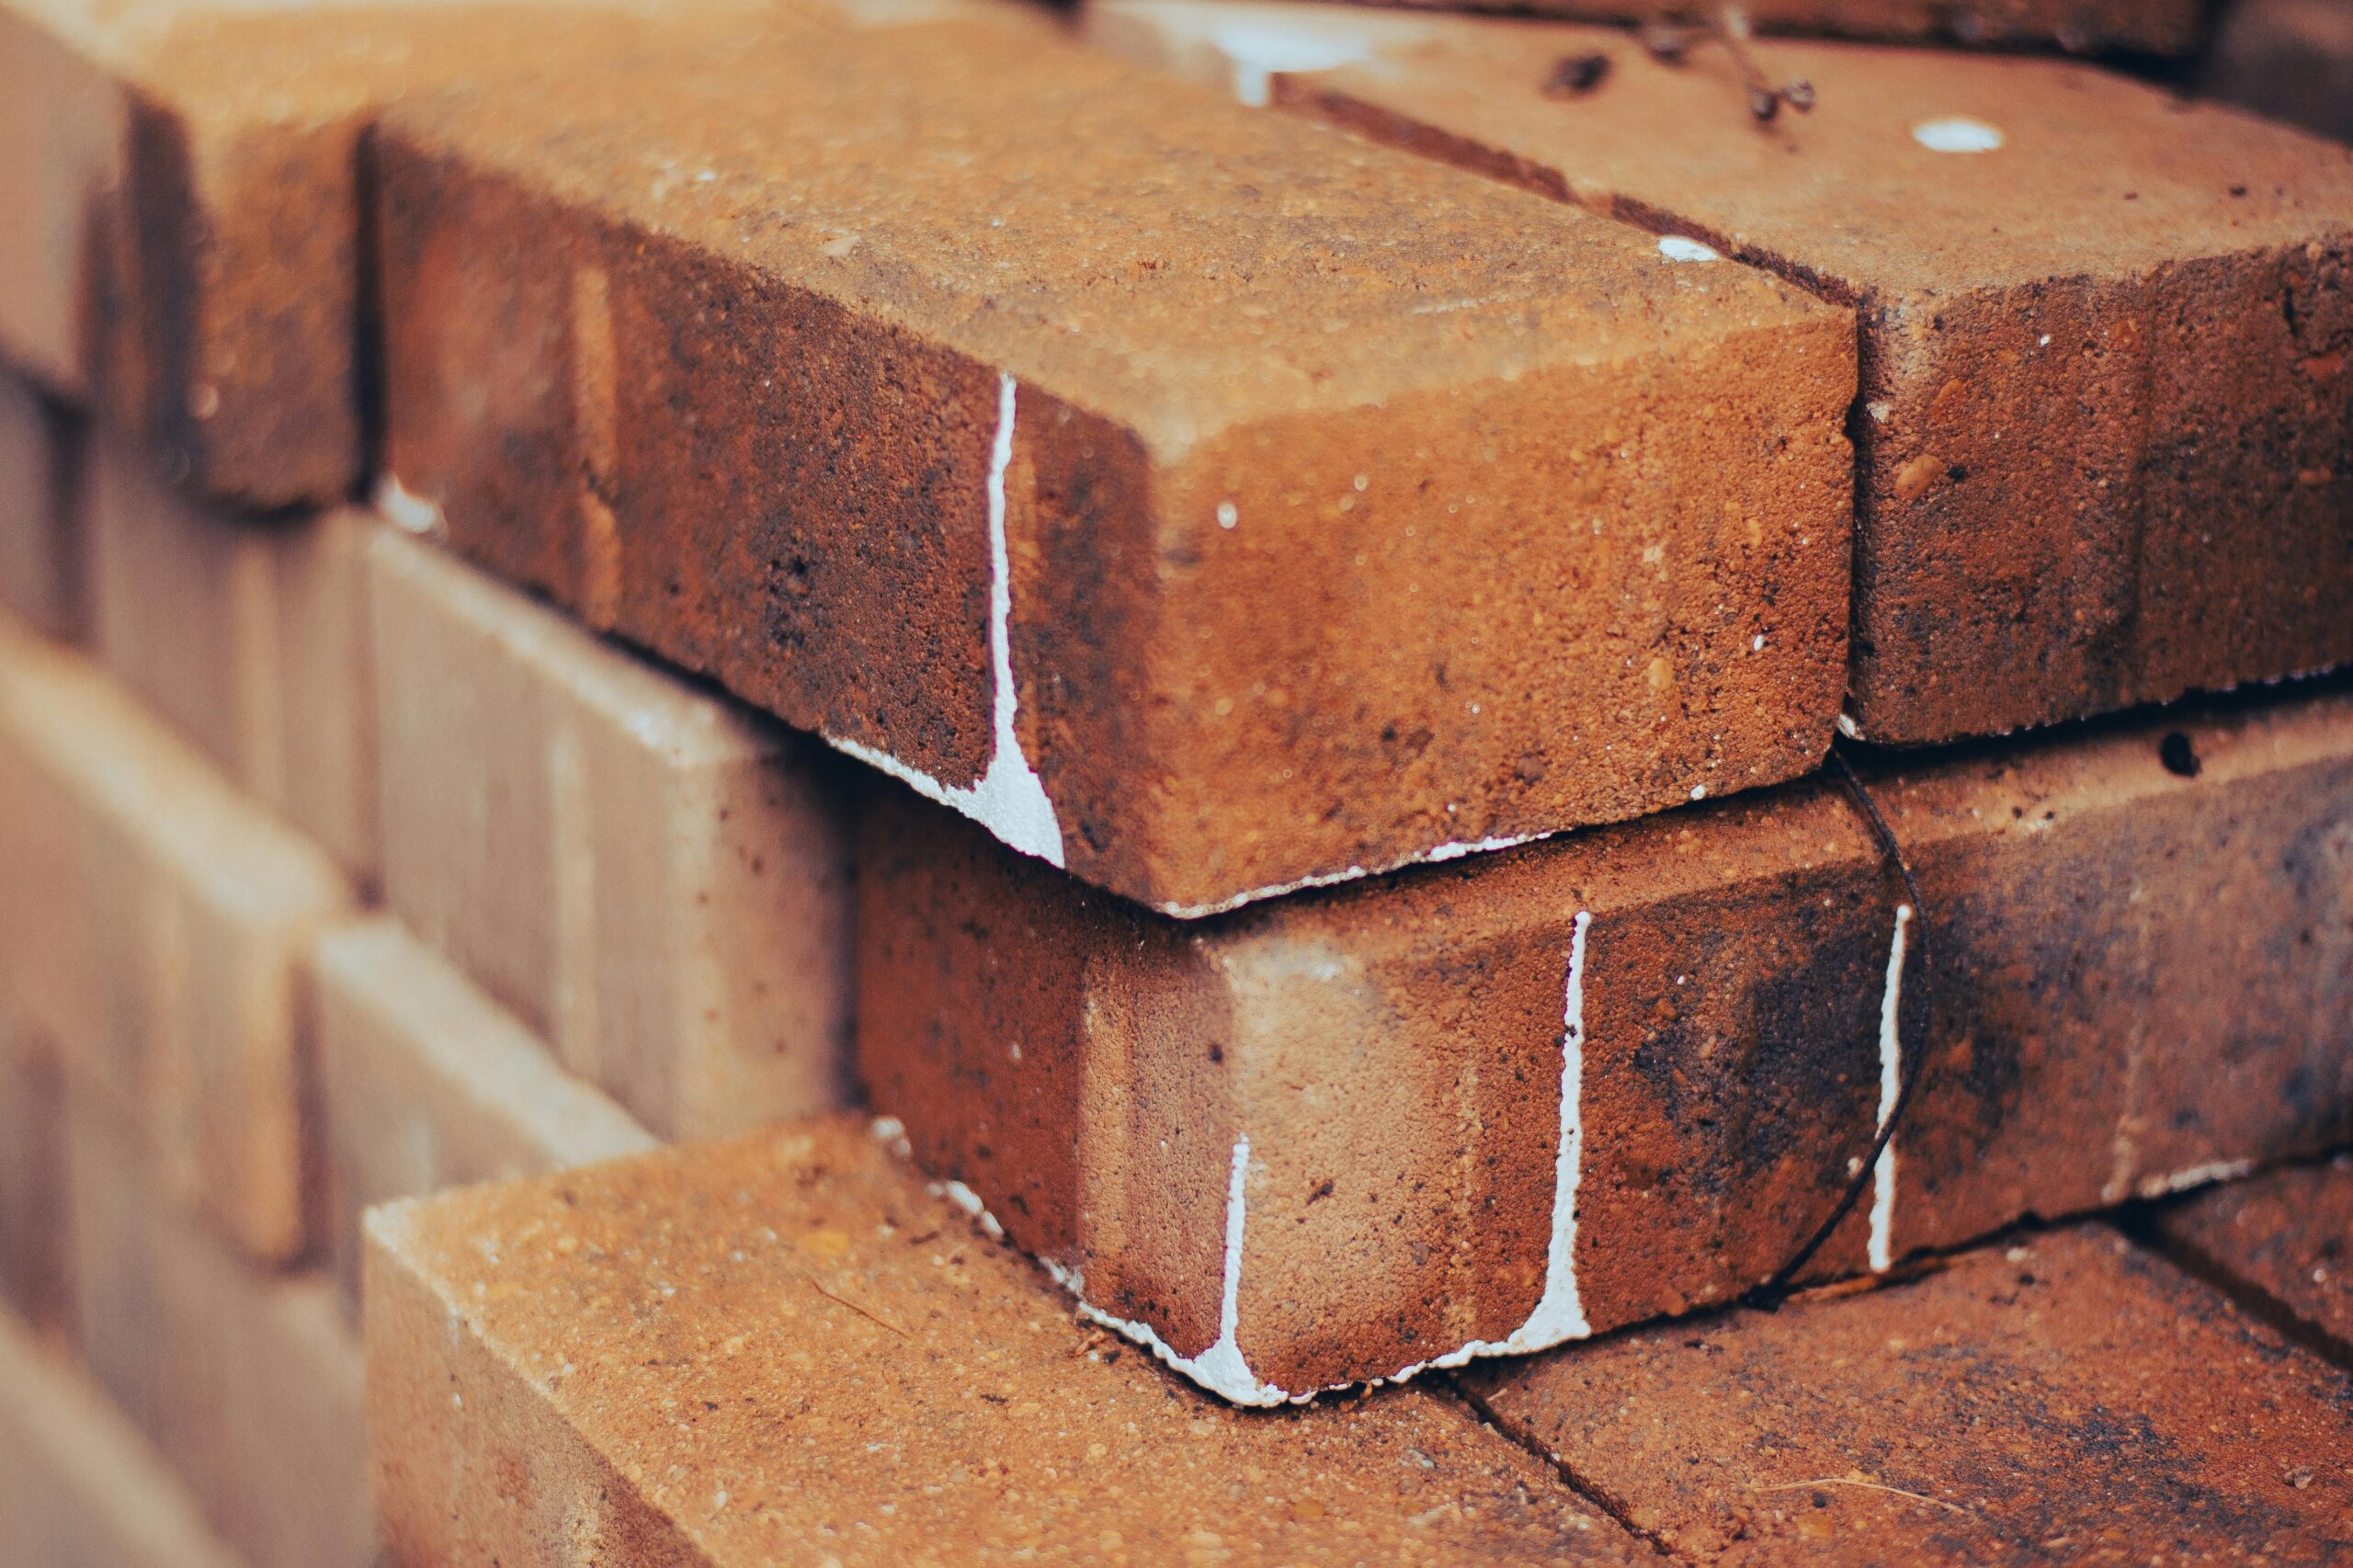
2. Lay Bricks
- Begin with the first course, ensuring it’s level and partially buried for stability.
- Stagger each subsequent row and apply mortar generously between joints.
- Use a level after every few bricks to ensure the wall remains straight.
3. Install Drainage
- Add landscape fabric behind the wall.
- Backfill with gravel as you build.
- Install a perforated pipe at the base to redirect water away (slope pipe 1/4 inch per foot).
- Consider weep holes every 4 feet for additional drainage.
4. Cap and Finish
- Apply mortar or adhesive for the top row.
- Install cap stones to prevent rainwater infiltration.
- Clean mortar spills with a wire brush for a clean finish.
Step 4: Design Ideas
Want to make your wall more than just functional? Draw inspiration from these real-world examples:
| City | Style | Size | Plants/Features |
| Chicago | Traditional | Large | Pachysandra, curved wall near patio |
| Seattle | Modern | Medium | Drought-tolerant plants, hillside design |
| Austin | Rustic | Large | Stone staircase integrated with brick wall |
| Los Angeles | Coastal | Small | Succulent beds, xeriscape layout |
| Atlanta | Traditional | Tiered | Timber and brick combo, built-in steps |
You can integrate seating areas, dining nooks, planters, or lighting into the design to elevate both aesthetics and function.
Common Pitfalls and How to Avoid Them
- Poor Drainage: Water behind the wall = disaster. Always include gravel and perforated pipes.
- Unlevel Base: Even a slight tilt can compromise the structure.
- Inadequate Reinforcement: For walls over 3 feet, skipping reinforcement is risky.
- No Permit: Don’t ignore local codes. Some cities fine heavily for non-compliant retaining walls.
Maintenance Tips
- Inspect after storms for signs of bulging, cracks, or weep holes getting clogged.
- Remove any white powder (efflorescence) with a stiff brush and water.
- Repoint mortar joints as needed to prevent water infiltration.
- Address plant overgrowth that might weaken or hide wall damage.
With minimal effort, your wall can stay strong and good-looking for decades.
Should You DIY or Hire a Pro?
- DIY if:
- The wall is under 3 feet tall
- The terrain is mostly flat
- You have some masonry or landscaping experience
- Hire a Pro if:
- It’s over 4 feet tall
- The soil is unstable or slope is steep
- You need permits, structural engineering, or speed
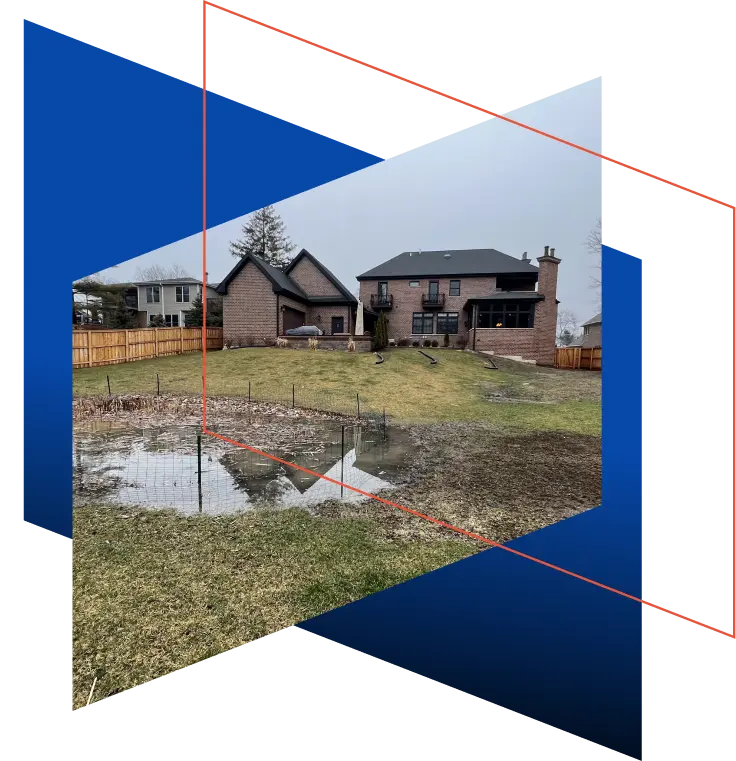
Hardscaping Transformation with Ware Landscaping
Final Thoughts
Building a landscape brick wall isn’t just about stacking bricks—it’s about creating a long-term solution that blends beauty with utility. Whether you’re managing runoff or crafting a garden feature, the key is solid planning, proper drainage, and smart construction techniques. Done right, it can elevate your entire yard.