If you’re searching for the best way to lay retaining wall blocks, you’re in the right place. A properly built retaining wall not only looks great but also lasts for decades. Whether you’re holding back soil, creating a terraced garden, or framing a raised bed, the secret lies in careful planning, precise leveling, and—most importantly—proper drainage.
While this can be a rewarding DIY project for low walls under 3–4 feet, taller walls or those on steep slopes should always involve a professional engineer. Also, check your local building codes—permits are often required for higher or load-bearing walls.
Why Build a Retaining Wall?
Retaining walls serve both functional and aesthetic purposes:
- Prevent Erosion: Keep soil in place on sloped areas.
- Improve Drainage: Redirect water flow away from problem areas.
- Enhance Landscaping: Add structure and visual appeal to your yard.
- Create Usable Space: Perfect for terraces, raised beds, or seating areas.
Materials You’ll Need
- Interlocking retaining wall blocks (order 10% extra for cuts and waste)
- Crushed gravel (3/4-inch clean aggregate for base and backfill)
- Perforated drainage pipe (4-inch diameter)
- Landscape fabric (optional)
- Construction adhesive (for caps and some block types)
- Paver base sand (optional)
Tools You’ll Need
- Shovel and wheelbarrow
- Tamper (hand or plate compactor)
- Levels (4-foot and torpedo)
- String line and stakes
- Rubber mallet
- Masonry chisel and hammer
- Tape measure
- Safety gear
Step-by-Step Instructions
1. Plan and Mark the Layout
Choose your wall’s location, height, and shape. Mark straight walls with stakes and string, and curves with a garden hose. Calculate block quantity based on wall length, height, and buried base row. Avoid areas with poor drainage or near downspouts.
2. Excavate the Trench
Dig 4–6 inches deeper than one block height plus 6 inches for gravel. Make the trench twice the block’s width. Slope slightly away from the retained area.
3. Create the Leveling Pad
Add 3–6 inches of crushed gravel, rake smooth, and compact until firm and level. This is critical for long-term stability.
4. Lay the Base Course
Place the first row of blocks on the gravel pad, burying them halfway. Level each block and align with a string line. Install perforated drainage pipe behind the base course, sloping away from the wall.
5. Backfill and Compact
Add 12 inches of crushed gravel behind the base course, compacting in 6-inch layers. Use landscape fabric to separate gravel and soil.
6. Stack Additional Courses
Offset each row by half a block for strength. Use pins, lips, or adhesive per block type. Backfill and compact after every 1–2 rows.
7. Cap and Finish
Apply adhesive to the top course and place caps. Backfill with soil sloping away from the wall. Add plants or mulch to prevent erosion.
Common Mistakes to Avoid
- Skipping base preparation.
- Ignoring drainage needs.
- Overloading the wall without reinforcement.
Maintenance Tips
- Inspect for movement after heavy rain.
- Keep drainage outlets clear.
- Remove weeds promptly.
- Replace damaged blocks.
Extra Tips for Success
- Work in dry conditions.
- Add geogrid reinforcement for walls over 2 feet.
- Let adhesive cure for 24 hours before heavy backfilling.
Safety Warnings
- Lift blocks carefully and use assistance.
- Poor drainage or uneven compaction will shorten lifespan.
- Hire professionals for tall or structural walls.
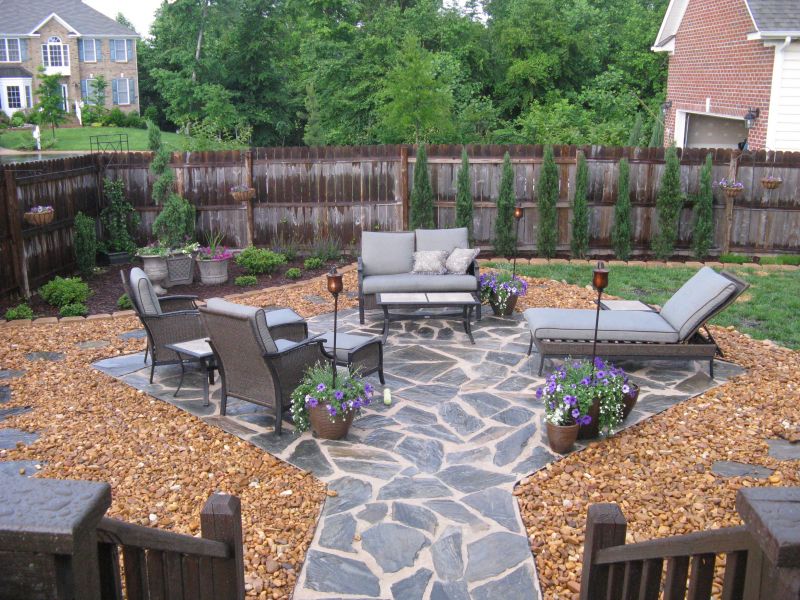
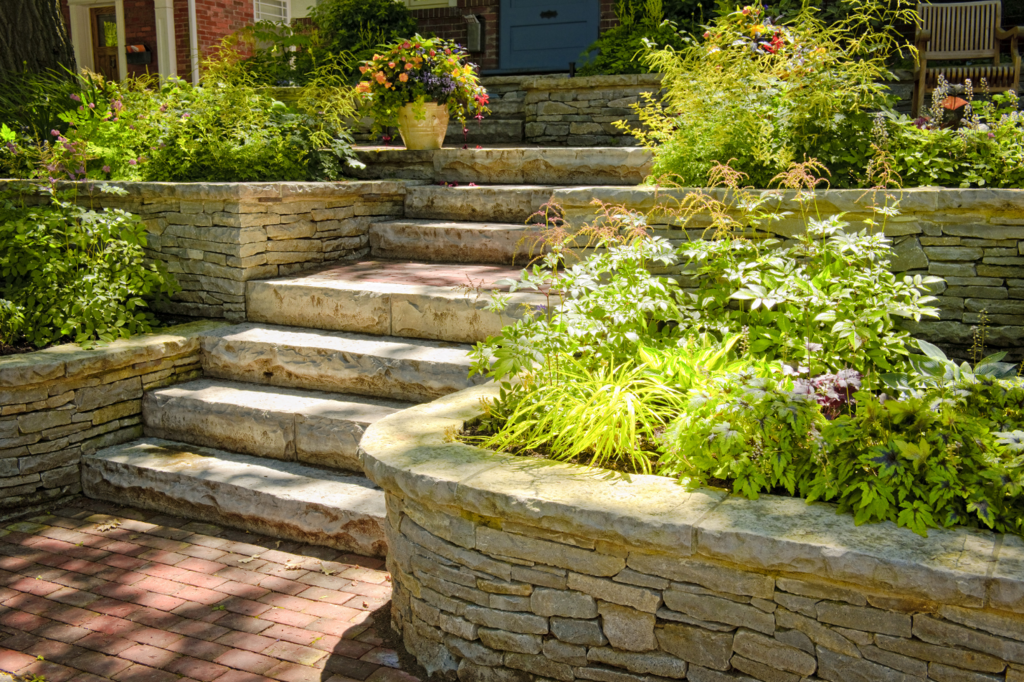
Beautiful Wall Hardscape Design
Conclusion
In conclusion, by following these steps, steering clear of common pitfalls, and paying attention to proper planning and drainage, you’ll not only master the best way to lay retaining wall blocks but also create a wall that combines durability, stability, and visual appeal—enhancing both the function and beauty of your outdoor space for years to come.