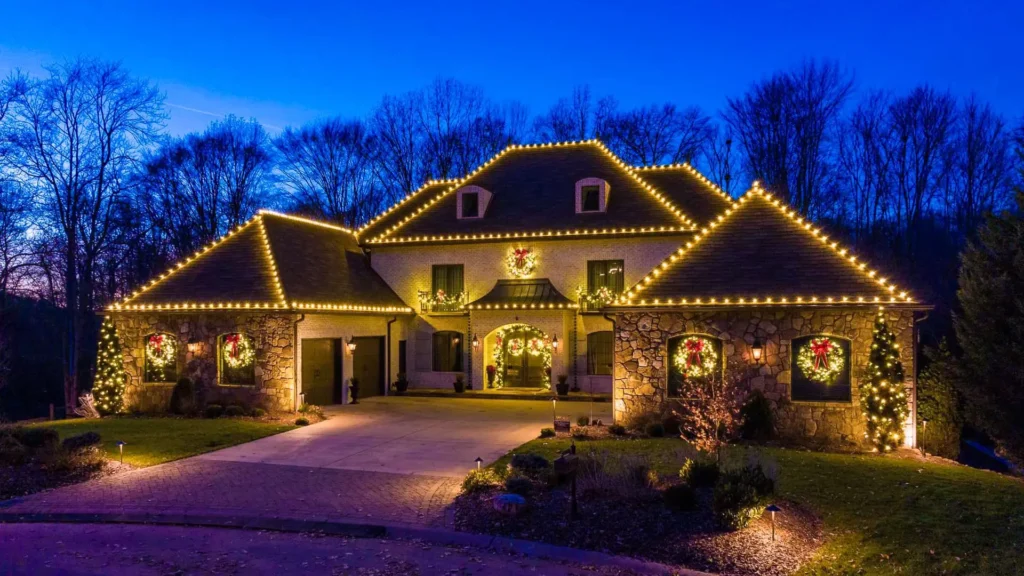
Every December, neighbourhoods across the U.S. transform into dazzling winter wonderlands. From rooflines that sparkle to trees wrapped in festive glows, installing Christmas lights has become a beloved tradition. But before you climb that ladder or unroll that tangled string of bulbs, there are essential items and safety precautions you need to know. In this guide, we’ll walk you through everything required for a safe, efficient, and picture-perfect Christmas light installation.
Essential Items for Installing Christmas Lights
Getting your Christmas light setup right starts with preparation. Having the correct materials ensures both beauty and safety.
1. Outdoor-Rated LED Christmas Lights
Opt for outdoor-rated LED lights. They are energy-efficient, durable, and produce less heat compared to traditional incandescent bulbs. LEDs not only lower your energy bills but also reduce fire hazards, especially in wet or cold weather. Look for UL-certified or ENERGY STAR-rated options to ensure compliance with U.S. safety standards.
2. Mounting Accessories
Plastic clips, hooks, and stakes are your best friends when it comes to installation. Avoid nails or staples, as they can damage siding, shingles, or wiring. Clips allow you to attach lights neatly along gutters, eaves, and railings without leaving permanent marks.
3. Outdoor Extension Cords with GFCI Protection
To power your lights safely, use outdoor-rated extension cords with Ground Fault Circuit Interrupter (GFCI) protection. This feature automatically cuts off power during a short circuit or electrical imbalance, protecting against shocks and potential fires.
4. A Sturdy Ladder
A fiberglass or wood ladder is essential for reaching rooftops and tall trees. Avoid aluminum ladders when working near electricity. Always ensure your ladder is stable and placed on flat ground.
5. Timers or Smart Plugs
These let you automate your lighting schedule. You can program them to turn lights on at sunset and off at bedtime, saving energy and avoiding the hassle of manual operation.
Planning Your Setup
Before hanging a single strand, spend time planning your display. Measure the areas you want to decorate — rooflines, windows, trees, and shrubs. A good rule of thumb is about 100 lights for every 1.5 feet of roofline or tree height, meaning an average home uses roughly 500 lights for a full display.
Create a simple sketch or take a photo of your home to visualize where each set will go. Test all light strands indoors before installation to spot damaged bulbs or frayed wires. Also, consider your home’s power outlets — most outdoor outlets in the U.S. are GFCI-equipped, which is ideal for this setup.
Safety First
Installing Christmas lights can be fun, but safety comes first. Each year, thousands of people in the U.S. are injured in holiday decoration accidents, many due to falls or electrical mishaps. Here are key precautions:
- Inspect every strand for frayed wires, broken bulbs, or loose connections.
- Replace damaged parts before use and never mix indoor and outdoor-rated lights.
- Use UL-certified lighting and follow manufacturer limits for connected strands.
- Avoid overloading outlets. Instead, spread connections across different circuits.
- Wear protective gloves and safety glasses to guard against cuts or shocks.
- Always work with a partner and never install lights during rain, snow, or icy conditions.
Basic Installation Steps
Now that you’ve got your materials and safety checklist ready, it’s time to install.
- Start from the Power Source
Begin near your outdoor outlet and work outward. This ensures you don’t run short on cord length and makes it easier to test connections. - Attach Lights Securely
Use plastic clips or vinyl hooks to fasten lights along gutters, eaves, or windows. For trees, start at the base and wrap upward, keeping spacing consistent. Secure with zip ties for stability. - Connect Cords and Timers
Plug your lights into a weatherproof outdoor extension cord and connect to a GFCI outlet. Attach your timer or smart plug to automate operations. - Test Your Display
Once all strands are connected, switch them on to check for dark spots or flickering bulbs. Adjust as needed. - Final Adjustments
Bundle excess cords and fasten them safely off the ground to prevent tripping or water contact.
Indoor Installation Tips
Indoor lighting adds warmth and charm to your holiday décor. To keep it safe:
- Use lights specifically rated for indoor use.
- Secure them with adhesive hooks or suction cups instead of nails.
- Keep cords away from walkways or under rugs.
- Plug lights into surge-protected outlets and never overload extension cords.
Drape string lights over mantels, windows, or bookshelves for a cozy glow. If using artificial trees, make sure they’re flame-retardant.
Comprehensive Safety Checklist
| Safety Tip | Description |
|---|---|
| Inspect Thoroughly | Check for frayed wires, loose bulbs, or damaged sockets before installation. |
| Use the Right Lights | Outdoor-rated lights go outdoors only; indoor lights can’t withstand moisture. |
| Ladder Safety | Use fiberglass or wooden ladders; always have a spotter. |
| Electrical Load | Avoid overloading outlets; use GFCI and match cord amperage. |
| Weather Awareness | Install only in dry weather; secure lights against wind. |
| Bulb Replacement | Replace missing bulbs immediately to prevent short circuits. |
| Time Control | Use timers to save energy and reduce overheating risk. |
Maintenance and Storage
Once the holidays are over, take time to carefully remove and store your lights. Unplug everything first, then inspect for wear or damage. Coil the lights onto reels or cardboard to avoid tangling. Store them in a cool, dry area — moisture can cause corrosion or wire damage over time.
If you plan to reuse your setup next year, label each strand by area (e.g., “roofline” or “front bush”) for easy reinstallation. Some homeowners even switch to permanent outdoor LED systems for convenience and year-round flexibility.
Why Choose Ware Landscaping for Professional Light Installation
While DIY Christmas lighting can be rewarding, it can also be risky and time-consuming. That’s where Ware Landscaping comes in. We specialize in professional Christmas light installation services designed to make your home shine safely and beautifully. Our expert team handles everything — from planning and installation to maintenance and removal — using top-quality materials that meet U.S. safety standards.
Whether you want a subtle, elegant glow or a bold, festive display, we’ll help you design a lighting experience that complements your home’s architecture and enhances your curb appeal. With years of experience serving families across the U.S., Ware Landscaping ensures your holiday season is bright, stress-free, and unforgettable.
Contact us today to schedule your professional Christmas light installation and make your home the talk of the neighborhood this holiday season.