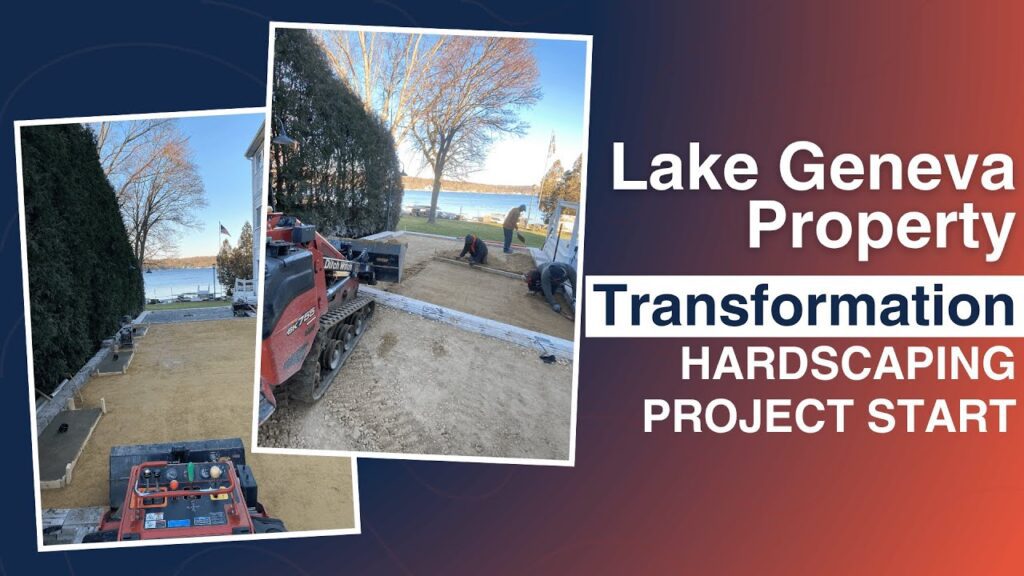
Paver retaining walls are a practical and attractive solution for sloped yards, erosion-prone landscapes, or to define garden beds. Built properly, they can last for decades and instantly boost curb appeal. Whether you’re a seasoned DIYer or a homeowner curious about the process, this guide breaks it all down in simple terms.
Why Choose a Paver Retaining Wall?
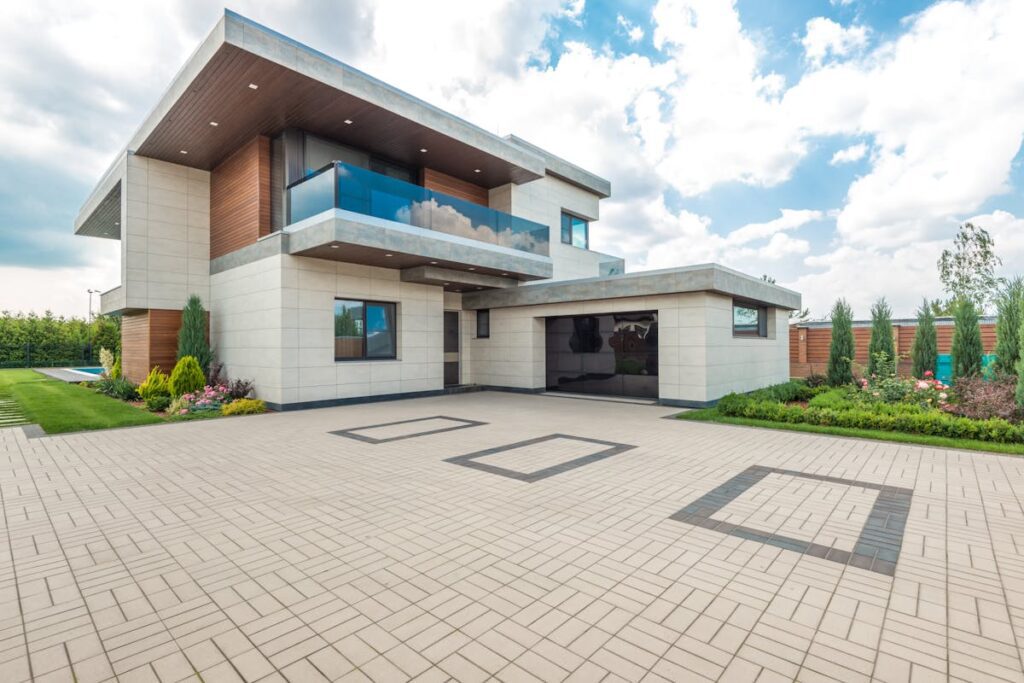
- Visual Appeal: Available in various shapes, textures, and colors.
- Functionality: Great for leveling ground, controlling erosion, or framing patios.
- Durability: When built right, they stand up to time and weather.
But here’s the catch: they only work if you follow the rules of preparation, drainage, and structural integrity.
Step 1: Plan and Design
Start by determining the purpose and layout of your wall:
- Is it purely decorative or load-bearing?
- What’s the slope like?
- What kind of soil are you working with?
Use a landscape design app or graph paper to sketch your wall. Choose the right blocks—concrete pavers are popular for their interlocking features and affordability. For longer or taller walls, you might need permits or professional input.
Step 2: Site Preparation
- Mark the Wall Path: Use stakes and string to outline the wall.
- Dig a Trench: This should be 6-12 inches deep and about twice as wide as your blocks. The bottom should be level side-to-side and front-to-back.
For walls under 3 feet, a 4-6 inch deep trench will often suffice. For anything higher, dig deeper and consider hiring a contractor.
Step 3: Build the Foundation
- Add Gravel Base: Fill the trench with 4-6 inches of crushed stone or gravel.
- Compact It: Use a hand tamper or plate compactor to create a solid, level base.
Poor compaction is one of the most common reasons retaining walls fail. Take your time here.
Step 4: Lay the First Course
- Start Flat and Level: Set your first row of pavers directly on the compacted gravel.
- Half-bury the First Course: It adds stability and helps hold the base in place.
- Check Level Often: Use a rubber mallet and level to adjust each block.
If your base isn’t perfectly level, the rest of the wall will follow its mistakes.
Step 5: Build Up and Reinforce
- Stack Subsequent Courses: Stagger the joints like bricks for strength.
- Use Adhesive or Interlocking Tabs: Depending on the type of block, use masonry adhesive or rely on built-in locking systems.
- Add Reinforcement: For walls over 3 feet, geogrid fabric is typically layered every 2-3 courses to anchor the wall into the soil behind it.
Step 6: Install Drainage System
Drainage prevents hydrostatic pressure from pushing against your wall:
- Backfill Each Course: As you build, fill the space behind the wall with gravel.
- Install a Drain Pipe: Place a perforated pipe behind the bottom course to channel water away.
- Weep Holes: For taller walls, some designs may include holes that allow water to escape.
Step 7: Cap and Finish
- Add Capstones: Secure them using masonry adhesive.
- Backfill Topsoil: Behind the final course, backfill with soil and tamp lightly.
- Clean Up: Sweep off debris, and your wall is done.
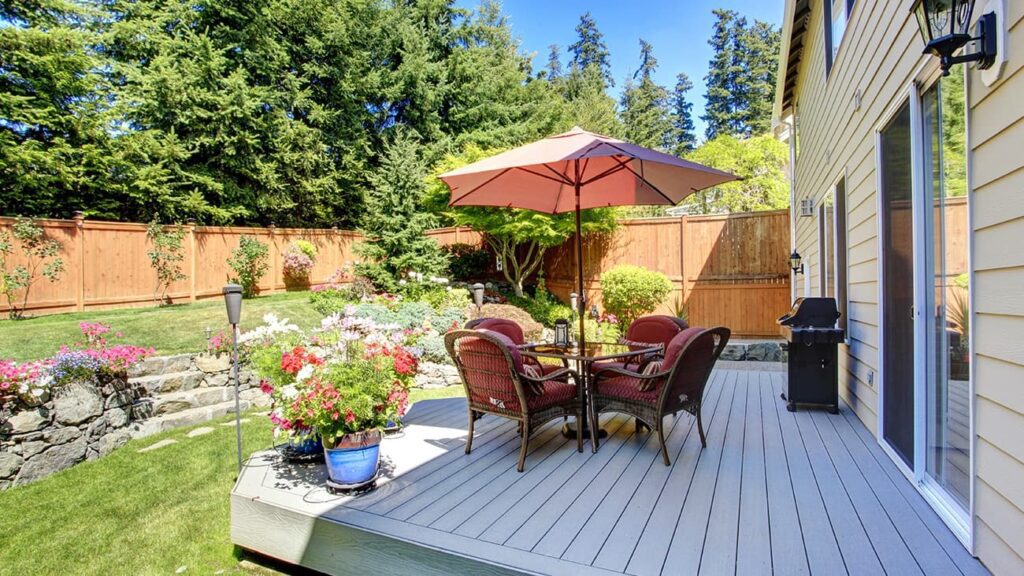
For extra flair, integrate lighting, seating, or built-in planters into the design.
When to Call a Professional
You should consider hiring a contractor if:
- The wall exceeds 3-4 feet in height
- The soil is loose or you’re working on a steep slope
- You’re unfamiliar with building codes or zoning laws
Professional installers bring expertise in compaction, permitting, and long-term structural integrity.
Finishing Touches For Home Hardscape
Cost and Time Estimates
- DIY Cost: ~$1,000–$2,000 for a 3-foot-high, 30-foot-long wall
- Time: 20 to 80 hours, depending on experience and wall size
- Professional Installation: Expect to pay $40–$100 per square foot, depending on complexity
Material Comparison Table
| Material | Pros | Cons | Best Use |
| Concrete Pavers | Easy to install, modular design | Limited structural height | Residential landscapes |
| Natural Stone | Unique, high-end look | Expensive, harder to cut | Decorative accents |
| Poured Concrete | Durable, holds heavy loads | Requires forms, pro-level skill | Structural, tall walls |
Final Thoughts
Installing a paver retaining wall is more than just stacking blocks—it’s an exercise in structure, stability, and drainage. With careful planning and patience, you can transform your yard into a functional and visually appealing space. For smaller projects, it’s definitely doable DIY. For more complex or larger builds, don’t hesitate to call in the experts.
Looking for inspiration? Browse DIY communities and home improvement forums for real-life project examples and advice from others who’ve tackled their own walls.