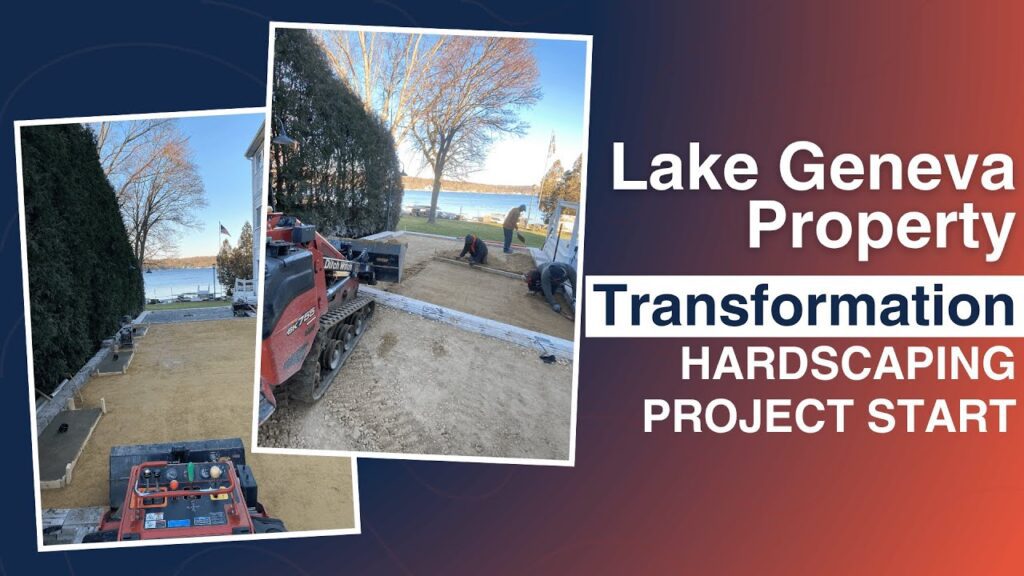
If your concrete patio, driveway, or walkway looks dull, cracked, or outdated, laying pavers over concrete can completely transform it. This method not only saves you the cost and hassle of demolition but also creates a stylish, durable, and low-maintenance surface that instantly enhances your curb appeal.
At Ware Landscaping, we’ve helped countless homeowners breathe new life into their outdoor spaces using this method. In this guide, we’ll walk you through everything you need to know — from evaluating your concrete to installation and long-term maintenance — so you can decide whether to DIY or call in the professionals.
Why Install Pavers Over Concrete?
Installing pavers over concrete is one of the most practical ways to upgrade your outdoor surface without tearing up what’s already there. If your existing concrete is in good condition (free from major cracks or severe sinking), it provides a solid base for your new pavers.
Some of the biggest reasons homeowners choose this method include:
- Cost Savings: No need to demolish or haul away the old slab.
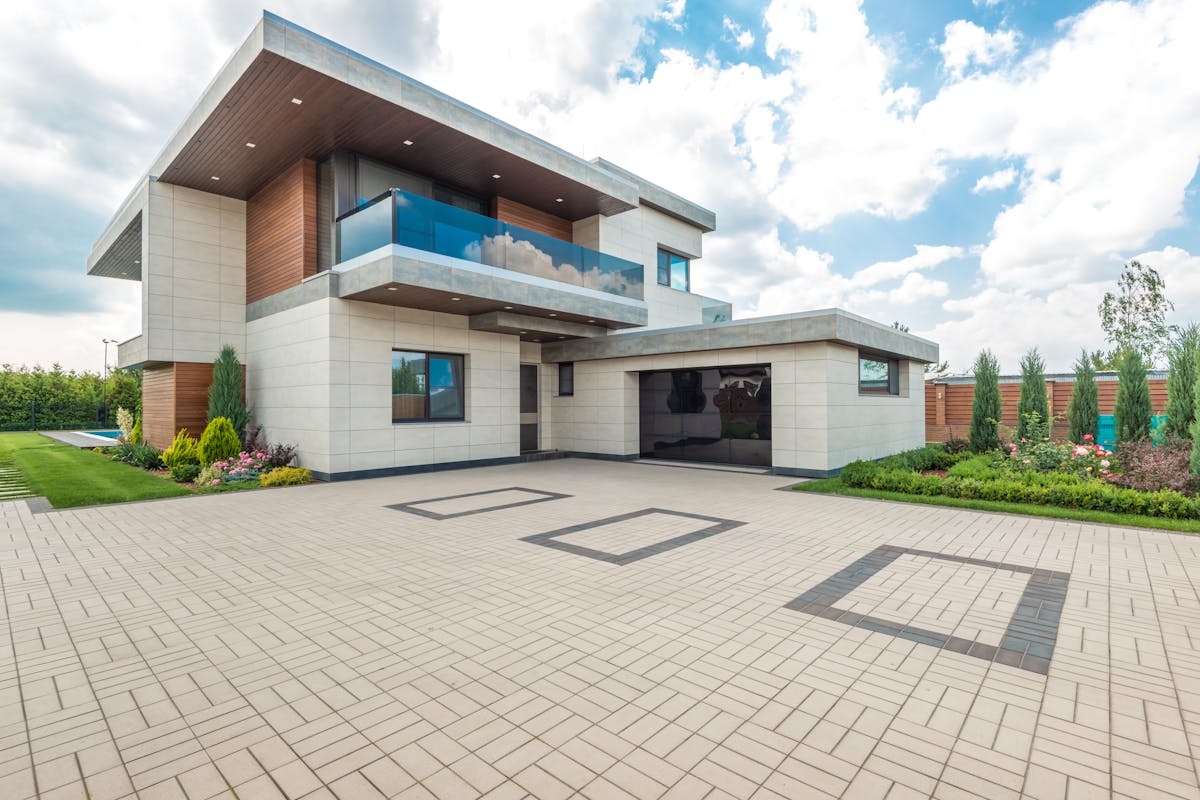
- Aesthetic Appeal: Pavers add warmth, texture, and design flexibility that plain concrete simply can’t match.
- Durability: With proper preparation and sealing, pavers can last decades.
- Low Maintenance: Individual pavers can be replaced easily if damaged.
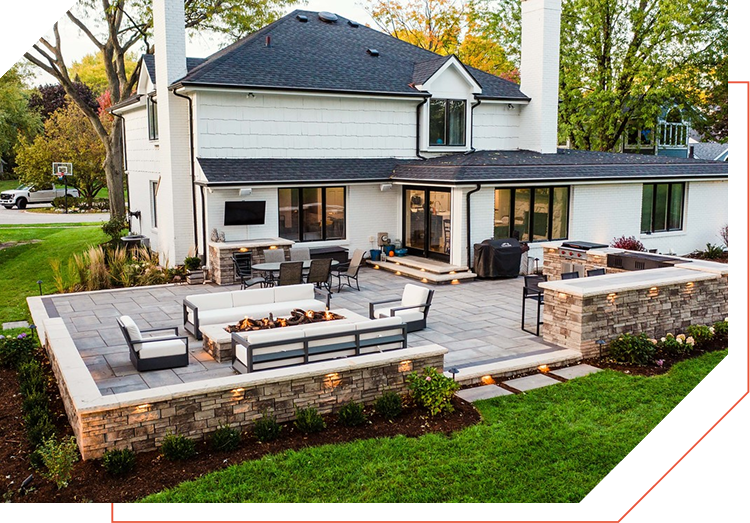
Whether it’s your backyard patio or front walkway, installing pavers over concrete is a fantastic way to get a high-end look on a reasonable budget.
Step-by-Step: How to Lay Pavers Over Concrete
Step 1: Assess the Concrete Surface
Before laying a single paver, start with a thorough inspection. The success of your project depends on the condition of the concrete base. Here’s what to look for:
- Structural Soundness: The surface should be free of major cracks, deep holes, or uneven sinking. Minor cracks can be repaired using concrete filler.
- Evenness: Use a level to identify dips or humps. You can smooth uneven spots with mortar or grinding tools.
- Drainage: Concrete should have a slight slope (about 1/8 inch per foot) to allow proper water runoff. If water pools on the surface, fix drainage issues before proceeding.
If the concrete is severely damaged or has major drainage problems, it’s best to repair or replace it first. A weak foundation will cause your pavers to shift or crack over time.
Step 2: Clean the Concrete Thoroughly
Cleanliness is key. Use a pressure washer (1500–3000 PSI) to remove dirt, oil stains, and debris. Stubborn areas can be scrubbed with a concrete cleaner or degreaser. Once clean, let the surface dry completely for at least 24 hours.
This ensures proper adhesion and prevents moisture from being trapped beneath your new pavers.
Step 3: Choose Your Installation Method
There are three main methods for installing pavers over concrete, each suited to different projects:
1. Sand Bed Method
- Best For: Patios and walkways.
- How It Works: Spread 1 to 1.5 inches of coarse sand evenly across the surface, then lay pavers on top.
- Pros: Allows flexibility and better drainage.
- Cons: Adds extra height, which may affect door thresholds or transitions.
2. Mortar Bed Method
- Best For: Driveways or high-traffic areas.
- How It Works: Apply a half-inch layer of mortar to bond the pavers directly to the concrete.
- Pros: Extremely stable and durable.
- Cons: Harder to replace individual pavers once installed.
3. Adhesive Method
- Best For: Thin pavers or tiles (less than 1 inch thick).
- How It Works: Use a high-strength construction adhesive or thin-set mortar to glue the pavers directly onto the concrete.
- Pros: Minimal height increase; ideal for indoor-outdoor transitions.
- Cons: Requires a perfectly clean and even surface.
Step 4: Prepare the Base Layer
Depending on your chosen method:
- For a Sand Bed: Spread a layer of bedding sand, level it with a screed board, and lightly compact it.
- For Mortar: Mix mortar according to the manufacturer’s instructions and apply in small sections so it doesn’t dry out before you place the pavers.
- For Adhesive: Apply adhesive or thin-set mortar using a notched trowel, covering only the area you can work with in 10–15 minutes.
Step 5: Lay the Pavers
Start from one corner and lay pavers in your desired pattern (like herringbone, basketweave, or running bond). Use spacers to maintain consistent joints and a rubber mallet to gently tap them into place. Regularly check your work with a level.
If you encounter tight edges or irregular spaces, use a masonry saw or angle grinder with a diamond blade to trim the pavers.
Step 6: Install Edge Restraints
Edge restraints keep your pavers from spreading or shifting over time. For sand installations, use plastic or metal edging anchored with spikes. For mortar or adhesive methods, you can use concrete edging for a more permanent solution.
Step 7: Fill the Joints
After laying all the pavers:
- For sand installations, sweep polymeric sand into the joints. Mist lightly with water to activate the binding agent.
- For mortar, fill the gaps using grout or extra mortar, and wipe away excess before it hardens.
- For adhesive installs, use a thin grout line if necessary for a finished look.
Once filled, use a plate compactor to ensure everything locks into place.
Step 8: Seal the Surface
Sealing protects your new surface from stains, weather damage, and fading. Wait 1–2 weeks after installation before applying a paver sealant. Choose a sealer appropriate for your paver material (penetrating for natural stone, film-forming for concrete pavers). Apply using a roller or sprayer for an even coat.
Tools & Materials You’ll Need
- Pavers (brick, concrete, or stone)
- Polymeric sand or mortar
- Level and string line
- Rubber mallet
- Plate compactor
- Pressure washer
- Edge restraints
- Masonry saw or grinder
- Concrete cleaner or degreaser
- Paver sealant
Common Mistakes to Avoid
| Mistake | Why It’s a Problem | How to Fix It |
|---|---|---|
| Installing over damaged concrete | Cracks will transfer to the pavers | Repair or replace the concrete base first |
| Ignoring drainage | Water pooling causes instability | Ensure a slope or install drainage channels |
| Not compacting sand | Leads to shifting or uneven pavers | Use a plate compactor after installation |
| Skipping edge restraints | Pavers can drift apart over time | Install sturdy edging on all sides |
| Forgetting to seal | Increases risk of stains and fading | Seal every 2–3 years for protection |
Cost and Time Estimates
- Cost: On average, expect to spend between $5–$15 per square foot. DIYers save on labor, but you may need to rent equipment like a compactor.
- Time: A small patio (100 sq ft) can take 2–3 days for a DIY project. Larger or more complex installations may require professional help.
Professional vs. DIY Installation
If you enjoy hands-on projects and your concrete is in good shape, a DIY installation can be rewarding. However, for large driveways, sloped areas, or drainage issues, hiring professionals ensures long-term stability and a polished finish.
At Ware Landscaping, our hardscaping experts specialize in installing pavers over concrete using top-grade materials and proven techniques. We ensure your project not only looks beautiful but also lasts through harsh winters and heavy use.
Final Thoughts
Laying pavers over concrete is an excellent way to transform a dull slab into a stunning, functional outdoor feature. With proper preparation, drainage, and sealing, you can enjoy a long-lasting surface that adds value and beauty to your home.
If you’re ready to take your outdoor space to the next level, contact Ware Landscaping today for a free consultation. Our experts will help you design and install a paver system that fits your style, budget, and lifestyle needs.
Ready to upgrade your patio or driveway? Get in touch with Ware Landscaping today and let’s make your dream outdoor space a reality!